Leftover Candy Skillet Sugar Cookie

Pin It

One of the hardest sales to resist, aside from nail polish, is clearance holiday candy! Who doesn’t love festive candy? I mean there are some crazies out there who don’t I guess, but most people do! Even some of the healthiest people I know can’t resist candy once in a while. I made this skillet sugar cookie back when I happened upon an after Easter candy sale. Guess what today is? (Happy 4th by the way!) Guess what’s on sale?! Patriotic candy!

After you recover from your holiday celebration, go get some clearance candy and make this! Regular candy can be used too of course, but festive is just more fun. 
Original recipe from Munchkin Munchies

Ingredients: 

  • sugar cookie mix (I used the 17.5 ounce package and mixed it per package instructions)
  • 1 cup M&M candies (If you shake in a few extra no one will mind.)
  • 2 – 4 tablespoons colorful sprinkles

Directions:

Preheat oven to 350. Mix sugar cookie dough per package directions. Add M&Ms to the dough, saving out a few. Grease your cast iron skillet with coconut oil and a paper towel. Press cookie dough into skillet. Pour the sprinkles over the dough. Press in a the reserved M&Ms on the top of the dough. Bake for 12-18 minutes or until edges brown and center is golden. Cut into slices and enjoy! 

Summer Fruit Pizza

Pin It

If I was going to a 4th of July potluck, I’d definitely bring this fruit pizza. If you haven’t decided what to make for your Independence Day celebration, make this! One of the simplest but most crowd pleasing summer desserts ever. A quick story about this fruit pizza. Once my RAs and I made one. The 7 of us devoured it in one sitting. The next night we really wanted leftover fruit pizza. Of course there weren’t leftovers because we ate all of it! So… we made it again the very next night. Kids love it. Grown ups love it. You could even only use red and blue fruit to make it more festive. However, if I was making it this week I’d definitely add fresh peaches. Strawberries, peaches, and blueberries. Yum! The recipe below is the easy version using refrigerated packaged sugar cookie dough. We like easy for parties right?! But I’ve done this three ways. 1. The refrigerated packaged sugar cookies dough roll. 2. Dry sugar cookie mix, adding in my own eggs and oil. 3. Homemade sugar cookie dough. You get to decide!

Ingredients: 

  • 1 roll refrigerated sugar cookie dough
  • 1 package 1/3 less fat cream cheese, softened
  • 1/3 cup sugar
  • 1/2 teaspoon vanilla
  • 3 cups assorted fruit, sliced if necessary – I used blueberries, kiwi, and strawberries. For a festive 4th of July option use strawberries, blueberries, blackberries, raspberries and/or bananas. For a fruit that’s fresh and delicious right now version use strawberries, peaches, and blueberries. 

Directions: 

Heat oven to 350. Spray a pizza stone or round pizza pan with cooking spray. Press the refrigerated dough into the pan or stone, creating a round edge. Bake 15-20 minutes or until golden brown. Let cool completely. 
Beat cream cheese, sugar, and vanilla together until fluffy. Spread cream cheese over cooled cookie crust. Arrange fruit in a pretty design on top of cream cheese mixture. Serve immediately or chill for 30 minutes. Slice in wedges or squares. 

Chickpea Tomato Basil Salad

Pin It

SUMMER IS UPON US! Notice how I almost seemed excited? I actually don’t love summer, especially in the ‘Sip (Mississippi for any non-southern readers I might have). It’s hot and muggy and I can’t wear my cardigans and pumpkin isn’t in style. I just love fall, it’s my favorite and I long for it 9 months of the year. But of all the fall off seasons, summer is my least favorite. Therefore, I do things to try to make summer more fun! I will admit that it is a fun cooking/baking/meal planning season. THE PRODUCE! Oh man, the produce. Farmer’s Markets, my papaw’s garden… ALMOST makes me love summer. Actually, I do love summer for that sole reason, produce from Farmer’s markets and the garden! And grilling. I love it. LOVE! So all that to say, expect summer themed recipes rich with tomatoes, fresh herbs, and grilled things. Like this yummy, bright salad! 
This lovely salad would pair perfectly with any summer dish, like fish tacos! I was featured over at Mississippi Women Bloggers for Foodie Friday with a yummy Greek Fish Tacos recipe that you should definitely make with this salad. 

Recipe slightly adapted from Green Lite Bites.

Ingredients:

  • 2 can chick peas, drained and rinsed
  • 1 pint red grape tomatoes, halved
  • 1 pint yellow cherry tomatoes, halved
  • 12-15 fresh basil leaves, chopped 
  • 1 tbsp red wine vinegar
  • 1 tbsp apple cider vinegar
  • 1/2 tablespoon honey
  • 3 tsp minced garlic
  • salt and pepper

Directions: 

Combine garlic, vinegar, and honey in the bottom the bowl you intend to serve the salad in. Whisk. Add the tomatoes, basil, and chick peas to the same bowl and toss to coat everything. Let chill in the refrigerator for 30 minutes. Enjoy!

Peach Cobbler Trifle

Pin It

Hey! Remember me? It’s been exactly a month since I posted. Yikes! I told you May was insane. It got the best of me! I’ll update you soon on important things (LIKE TURNING 30!), but I couldn’t bare it being OVER a month since I posted. Someone a month exactly seemed a little less depressing that OVER A MONTH! I go to a conference in Idaho next week, but after that Meal Plan Monday will also return! I’m liking the feeling of my fingers on these keys creating words and paragraphs to type in this little blog box… So beware, I will be up and running and shooting posts your way soon!

What better way to kick things back off than with a lovely summer dessert recipe?! Confession… I made this dessert almost an entire year ago! I forgot to post it and found the pictures in late fall. You know how I am about seasonal foods… Peach Cobbler Trifle is a summer dessert! I prepped the post and patiently waited for summer to arrive again so I could share it with you. My pictures aren’t the greatest. I brought it to a baby shower, indoor lighting, night time, etc. BUT… IT’S SO GOOD! Everyone raved about it. I’ll definitely be making it ASAP… as soon as I can get my hands on some fresh ripe peaches.

Ingredients: 

  • 2 small packages of sugar free french vanilla instant pudding
  • 1 cup reduced fat sour cream 
  • 1 1/2 cup skim milk
  • zest of one orange
  • 1/2 cup powdered sugar
  • 2 cups heavy whipping cream
  • 2 Sara Lee style frozen loaf pound cakes thawed (like this one)
  • 4 cups diced fresh peaches 
  • 2 tablespoons sugar
  • 1 tablespoon lemon juice
Crumble Mixture:
  • 1 cup crushed graham crackers
  • 3/4 cup sugar
  • 1/4 cup quick oats
  • 1 teaspoon cinnamon
  • 1/4 teaspoon nutmeg
  • dash of ground glove
  • 6 tablespoons melted butter

Directions: 

Preheat oven to 350. Stir the crumble mixture ingredients (graham cracker crumbs, sugar, oats, cinnamon, nutmeg, clove, and melted butter) together and spread on a parchment lined baking sheet. Bake until light golden brown. Remove from oven and let cool. 
Cut the cake in to small cubes, set aside. Whip heavy cream into a whipped cream until it peaks, set aside. Whip milk, pudding, powdered sugar, and zest until it begins to thicken. Fold in sour cream. Once mixture is smooth and combined fold in whipped cream. 

Clean, peel, and dice peaches. Mix with with the lemon juice and 2 tablespoons of sugar to prevent browning and produce a little juice. 
In a trifle dish or large bowl start layering! Layer pound cake, pudding mixture, crumble mixture, and peaches. Continue to layer and repeat until the disk is full. Top with peach mixture. Chill for 30 minutes to 1 hour before serving. Perfect summer dessert! 

Go To Nachos

Ever have moments when all of a sudden there are 4-6 hungry college students in your apparent? Oh, right, some of you don’t live in dorms. Maybe you have you have hungry kids’ friends that showed up after a sweaty outdoor play session. Or neighbors bringing jars of jam that want to stay and chat (I want jam jar carrying neighbors!). Or maybe it’s your turn to host small group and it’s been a REALLY busy week and you didn’t have time to plan a fancy snack. Or you’re a pastor’s wife and people show up at your house unplanned and hungry often. Or maybe you’re just hungry! I am. These nachos are so easy it seems silly to call it a recipe. Maybe we can just call it a project. First step – always have these ingredients on hand! They are pretty basic pantry/cabinet/fridge ingredients anyway. I can’t even count how many times I’ve fed these to people. They feed a lot of people, are super fast, cheap, and easy to make. And people love them! My RAs ask for these all the time.

Go-To Nachos

  • Servings: 2-4
  • Difficulty: EASY
  • Print

INGREDIENTS:

  • tortilla chips (Cheap ones! Don’t be fancy here because you are piling a lot of ingredients on these chips. Kroger 10 for $10 is perfectly acceptable.)
  • shredded cheese (I usually use the mexi blend or the queso blend)
  • canned black beans
  • canned dark or light red kidney beans
  • frozen or canned corn
  • frozen diced cooked chicken (I always keep the Kroger version of this on hand to use for salads – or impromptu nachos.)
  • frozen cooked fajita steak strips (I often keep these on hand as well.)
  • lime juice
  • taco seasoning (I make it homemade so I always have it on hand, put the packet works fine!)
  • jalapenos
  • sour cream (I use fat free)
  • salsa (any ol’ jar will do)
  • diced avocado

DIRECTIONS:

Heat oven to LOW broil. If broil scares you or you have a tendency to forget about things broiling, just get it on a high temp, 400-ish. While the oven is heating, heat a skillet with a tiny bit of olive oil or cooking spray. Saute your frozen meats. They are pre-cooked, so you’re just warming them up and giving them a little searing color. Drain and rinse your beans. Add in beans and corn. Splash in a few tablespoons of lime juice and shake in some taco seasoning. Tip – never skip lime juice in Mexican dishes! People always wonder why their at home taco nights don’t taste as good as Mexican restaurants, and it’s the lime! Add lime to all things Mexican. Stir and let all the ingredients get warmed up and seasoned then remove from heat.

This project wouldn’t be easy if it didn’t also have easy clean up, so I always line a large baking sheet with tin foil. Layer the baking sheet with chips. Heavily sprinkles half of the cooked mixture over your nachos, you want them good and covered. Sprinkle cheese. Layer more chips, add the rest of the cooked ingredients mixture, sprinkle cheese, and then add jalapenos! Bake in the oven until cheese is ooey gooey all the way melted. Serve with sour cream, salsa, and avocados on the side. I pile the avocados high on my portion and then dip the hearty nachos into salsa and sour cream.


Be kind to your guests and know if they like jalapeños or not. Half of my RAs do, as do I, but half don’t. Half and half is a perfectly fun game to play with this project for any and all ingredients you choose to pile atop your nachos. Nachos are sort of like ice cream sundaes – a blank canvas to create your tastiest version of yumminess. All of the ingredients I’m listing are optional (except chips and cheese I’d venture to say) and interchangeable a give or take situation. Like it? Try it! Don’t? Leave it off! Like something else you think might taste yummy in the mix? Try it! This is a project, not a recipe, get involved!

Are you hungry now? Because I am! I’m going to the grocery store right now to stock up on these stables again. Wait, NO! I’m not. I always forget NOT to go to the grocery story while hungry. I’m going to go eat lunch, THEN stock up. Crowd approved, tummy pleasing, perfect for this Friday night for the impromptu friend gathering that might happen at your house tonight OR perfect for your PJs and Hulu night at home.

What can you add to these to make your taste buds love them even more?

Philly Cheesesteak Crock Pot Stuff Peppers

Another Pinterest recipe find! I already loved meal planning, but Pinterest makes it so much easier guys. I altered the original recipe by making it a crock pot recipe. The original recipe didn’t call for blanching the peppers, which I know from stuffed pepper experience that you must do if you are just oven baking them. So if you want to use the original recipe and skip the crock pot, be sure to blanch (bring whole peppers with tops cut off and seeds removed to a boil in water so they will be soft and easy to cut when eating). Slow cooking them in the crock pot means no blanching, the slow cooking method makes the peppers perfectly tender.
Recipe slightly adapted from Peace, Love & Low Carb.

Ingredients:

  • 3 1/2 large green bell peppers
  • 12 slices of deli roast beef
  • 12 slices of provolone cheese
  • 1 onion sliced
  • 8 oz sliced button mushrooms (I got the pre-sliced ones from Sam’s!)
  • 2 tablespoons low fat butter
  • 2 tablespoons olive oil
  • 3 teaspoons minced garlic
  • salt and pepper

Directions:

Slice onions and mushrooms (if not pre-sliced). Cut the tops off of the 3 peppers you’ll be stuffing. Dice the other 1/2 pepper and the pepper tops. Heat olive oil and butter in a skillet over medium heat. Saute sliced onions, mushrooms, garlic, and diced peppers over medium heat until onions start to caramelize  Salt and pepper to taste. 
Slice roast beef and add to the mushroom/pepper/onion mixture. Slide the 3 remaining bell peppers in half length wise, removing seeds and ribs. Line peppers halves in the bottom of crock pot. Push one slice of cheese into each. 
Spoon beef/onion/pepper/mushroom mixture into each pepper half. Fill to the top and then over fill with the remaining yummy mixture because it’s sooo good and you don’t want to waste it! Cover and cook in crock pot for 3 hours on high or 5 hours on low. 20 – 30 minutes before serving cover each pepper with the other slice of cheese. Allow it to get melty and perfect. 
If you want a prettier presentation, you can carefully transfer them to a cast iron skillet with tongs and put them in the oven on broil for a few minutes to brown the cheese. They are perfectly fine without that step, I’m just currently obsessed with my cast iron skillet and serving anything and everything in it. 

These are so tender, yummy, and a perfect Philly Cheesesteak fix! I couldn’t eat a whole pepper, I ate one half and half of another. But with good sides you could really just eat one half! So this recipe with great sides would feed 6. For boys or super hungry people it would feed 4-5.


Pin It

Eclair Cake

It’s Sunday! I love Sundays. I love sunny Sundays. I love naps on sunny Sundays, preferably outside, preferably in a hammock. I love grocery stores on Sundays with all the people in their church clothes buying fried chicken. I love church on Sundays and the people at church on Sundays and the sense of hope at church on Sundays. I love spring sunny Sundays because there is no Sunday football. I love the intentional efforts of most people to rest on the last few moments of the weekend before work week on Sundays. Sundays are simple and cozy. I like them a lot.
In my later years of life, I’ve felt drawn to [theologically sound] church plant type churches, newer churches that are a bit more contemporary. I love contemporary worship music, small groups, the sense of Biblical community, and many of the things that contemporary churches do well. However in my earlier years, I grew up in a traditional small country church. Know what I miss about churches like that? Dinner on the Ground! If you didn’t grow up in small country church world, Dinner on the Ground isn’t actually on the ground at all. In my church, and most, it took place the fifth Sunday of every month, four in a year, one every quarter, and was usually followed by “5th Sundee Singin.”
Dinner on the Ground is a church wide potluck on the church grounds, usually the fellowship hall. Everyone brings a dish and everyone eats. When I was growing up, there was always grocery store fried chicken, at least three different plates and versions of deviled eggs, gallons and gallons of sweet tea, too many casseroles to name, several pound cakes, and way too many other options to fill your styrofoam plate. This recipe reminds me of Dinner on the Ground. I never had it at Dinner on the Ground, but many offerings found on the dessert table are made in 9×13 casserole dishes. I can think of at least three my grandmother makes often to take to these church gatherings (Banana Split Cake, Chocolate Sin, Pineapple Delight). This recipe is simple, yummy, not a calorie killer, and totally Dinner on the Ground/potluck worthy! It’s also made the night before, stress-free! 
For further funny explanation about the Southern tradition of Dinner on the Ground check out this post on the Stuff Southern People Like Blog. It’s hilarious (and true)! 

Ingredients:

  • 2 small packages of sugar free french vanilla pudding
  • 1 small package of sugar free cheese cake pudding
  • 3 1/2 cups skim milk
  • 12 oz (1 and 1/2 of 8 ounce packages) of fat free cool whip
  • 2 packages of graham crackers
Frosting: 
  • 6 tablespoons butter
  • 6 tablespoons milk
  • 6 tablespoons cocoa powder
  • 1 cup powdered sugar

Directions: 

Blend milk and dry pudding mix for about 2 minutes. Fold in whipped topping. In a 9×13 glass pan, layer graham crackers to cover the bottom of the dish. You can break them to fit into odd spaces. Pour half of the pudding/whipped topping mixture on top and smooth out. Put another complete layer of graham crackers on top. Spread the remaining pudding over the crackers. Put the final layer of graham crackers on top with the bumpy side down (to ensure the frosting goes on smoothly). 
For the frosting, microwave the butter and milk just enough so that the butter is melted into the milk, it doesn’t need to boil. Add cocoa powder and powdered sugar, stir together until smooth. This frosting will be somewhere between a frosting and a glaze, not thick but not completely liquid. Pour the frosting over the top of the graham crackers and smooth out with a rubber spatula or frosting spreader. Refrigerate overnight and serve! 

The graham crackers end up having the texture of thin layers of cake! It’s totally no-bake, easy, and delish! Kid and adult friendly.


Pin It

Breakfast Fruit Parfaits

You know my breakfast story. Before the getting healthy journey, I was really bad at eating breakfast! I usually woke up with just enough time (sometimes not) to get ready and run out the door, always skipping breakfast. You know my speech and the speech of every person who eats healthy or TRIES to eat healthy, breakfast is important! Statistically, people who eat breakfast lose more weight and make healthier food choices for the rest of the day.

Allow me to confess though, I still haven’t gotten any better at the making time to sit down and eat breakfast part. I still get up with barely just enough time to get ready. And I used the phrase “get ready” very loosely  My version of getting ready usually involves second day hair in a bun or wet hair in a bun. I’ve gotten a little better at showering at night since boot camp, but buns happen often. So for me, breakfast has to be quick! Unfortunately quick isn’t always healthy! Quick is poptarts or things with too much sugar. The solution? Make ahead things! You know I love make ahead breakfast things! I love make ahead Breakfast Burritos. I’ve made make ahead egg mcmuffin sandwiches. There have been Banana Pancake Muffins. So many batches of Crustless Breakfast Quiche. And oh, the overnight oats! Over Night Oats 1. Overnight Oats 2. Making things ahead the weekend before is the way to go for me! And thus Breakfast Fruit Parfaits were inspired!

This recipe makes eight pint jar sized parfaits. They keep pretty fresh for 5 days, but I used mine even into the next week. They had a little more liquid from the fruit, but I just added in some granola and they tasted fine. The expiration dates for the yogurt and cottage cheese was much later.

Ingredients:

  • 32 ounce container of lowfat or nonfat vanilla yogurt (can use Greek or regular)
  • 32 ounce container of fat free cottage cheese
  • fruit of choice (I used 2 cans of mandarin oranges, 2 cans of sliced peaches, 2 cans of sliced pears, and frozen raspberries, thawed. All the canned fruits were in Splenda, not syrup)
  • slivered almonds, optional
  • low fat granola, optional

Directions: 

I made two of each flavor. I split the raspberries evenly and used one can of fruit per each parfait. Dice peaches and pears into smaller pieces. Layer 1/4 cup of yogurt on the bottom of each mason jar. Add 1/4 cup cottage cheese, smooth down slightly. Add 1/2 – 3/4 of the fruit per parfait in. Add another 1/4 cup of cottage cheese then another 1/4 cup of yogurt. Top with remaining fruit per parfait. Refrigerate, grab, and go! Top with optional slivered almonds or low fat granola right before eating.  

Layered, healthy, filling, hearty, refreshing and yummy! I didn’t get tired of these the entire eight days that I had one!


Pin It

Homemade Honey Peanut Butter

I could seriously post this recipe with no words at all, just pictures. Two reasons. 1. It’s SUPER easy! So easy I don’t know if we can even call it a “recipe” at all. 2. Every time I see these pictures I just want to go get another spoonful! Yes. It really is as good and easy as it looks. 
Peanut butter! I love the stuff. I love it on toast. I love it on bananas. I love it on a spoon with a glass of milk. I love it mixed with jelly and spread on two slices of bread. Love it. But have you ever looked at the label on a jar of peanut butter? It was brought to my attention this week how many ingredients that aren’t actually peanuts at all are in a jar of peanut butter. Allow me to share them with you. 
From the label of a jar of reduced fat peanut butter: PEANUTS, CORN SYRUP SOLIDS, SUGAR, SOY PROTEIN, CONTAINS 2% OR LESS OF: SALT, FULLY HYDROGENATED VEGETABLE OILS (RAPESEED AND SOYBEAN), MONO AND DIGLYCERIDES, MOLASSES, MAGNESIUM OXIDE, NIACINAMIDE, FERRIC ORTHOPHOSPHATE, ZINC OXIDE, COPPER SULFATE, FOLIC ACID, PYRIDOXINE HYDROCHLORIDE.

A regular or reduced fat jar of normal peanut butter has 60% peanuts in it. Even natural peanut butter isn’t all peanuts. Common ingredients are peanuts (obviously), sugar, molasses, and palm oil. Now if you’re going to buy peanut butter, buy natural! It is way better and not at all bad and 90% peanuts. But guess what my peanut butter has in it? 

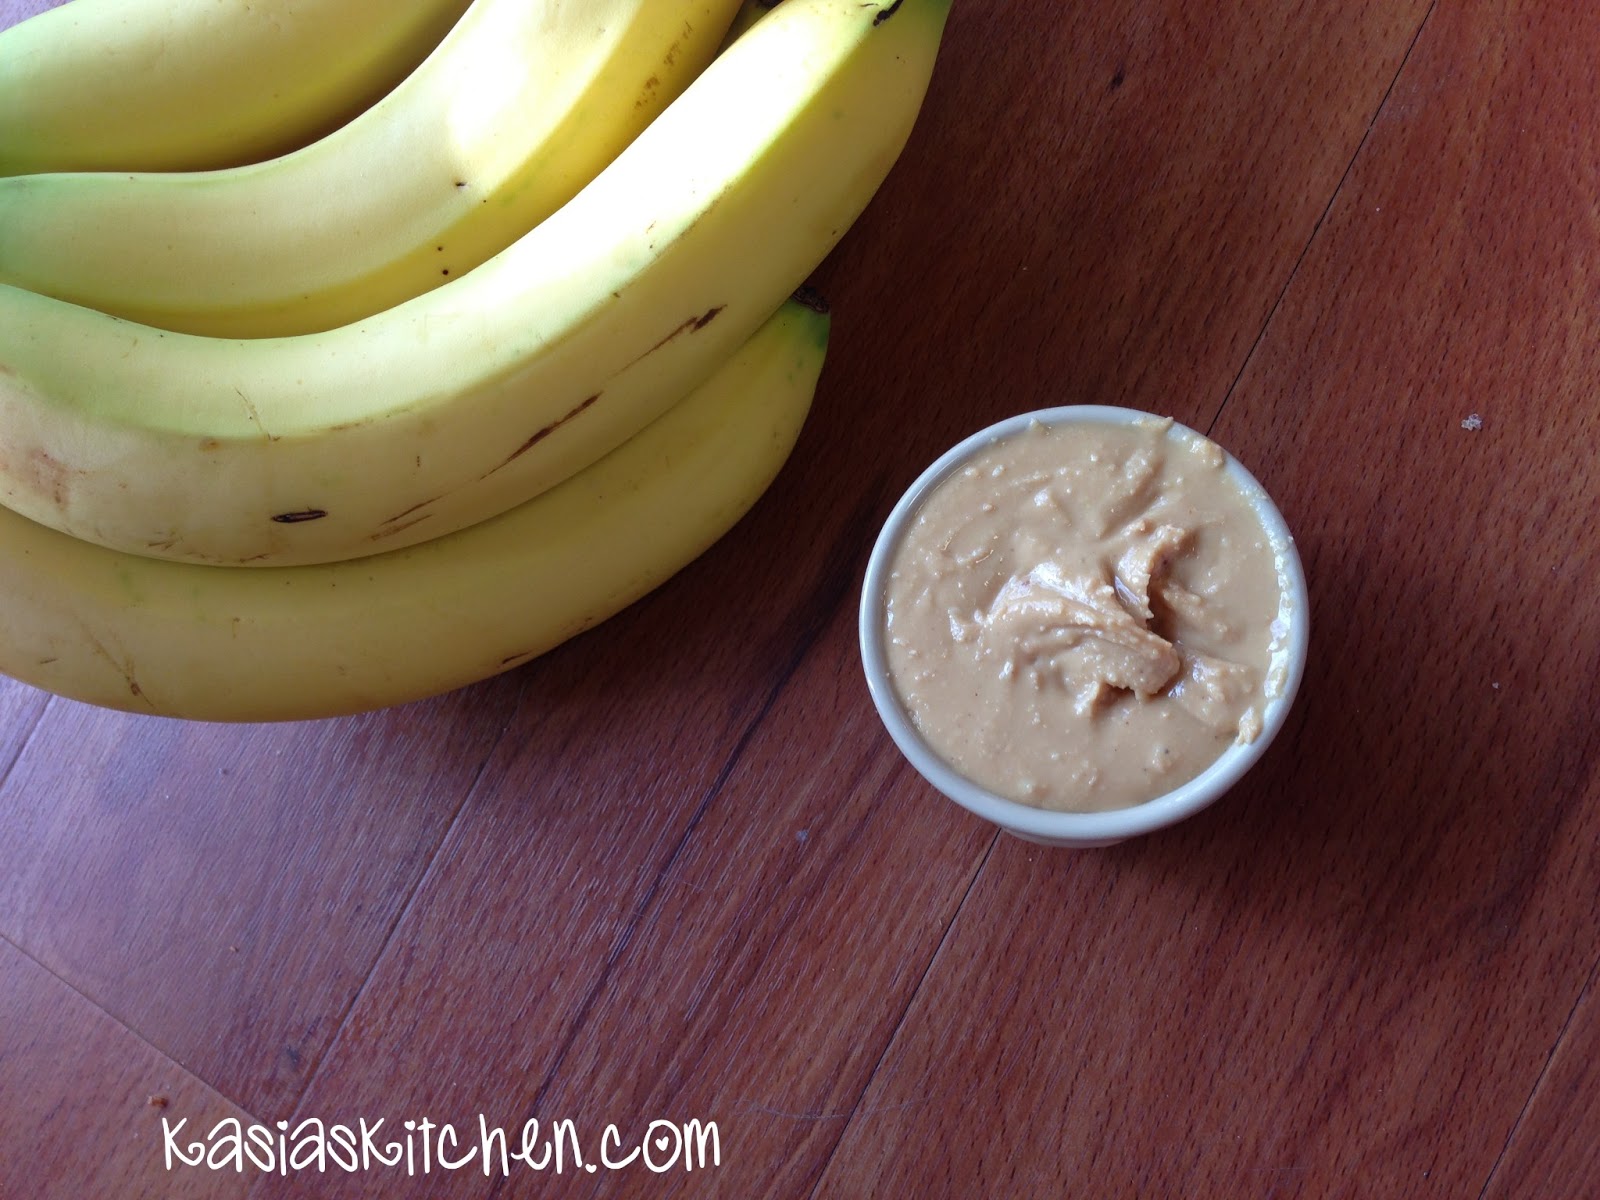
Peanuts! Well, and a little honey. I’m not a math person, but if I were to guess on the percentage of peanuts in my peanut butter, I’d go 99% peanuts and 1% honey. 
Seriously, this is so simple! If you have a food processor, you can make this and feel so awesome about life, yourself, your body and what you’re putting in it, AND your DIY skills. If you don’t have a food processor, go buy one! It’s a worthy investment. 

Ingredients:

  • 2 jars of unsalted dry roasted peanuts (I used Walmart brand)
  • 2 tablespoons of honey

Directions: 

Pour one jar of peanuts into your food processor. Pulse pulse pulse. Hold the button down and let it go! The first stage will look like crumbs and/or powder and you’ll wonder if it will really get creamy.

Once the first jar got pretty powdery, I added in the second jar and squeezed in a little honey. I’m estimating about 2 tablespoons worth, maybe a little less, but 2 won’t hurt. 

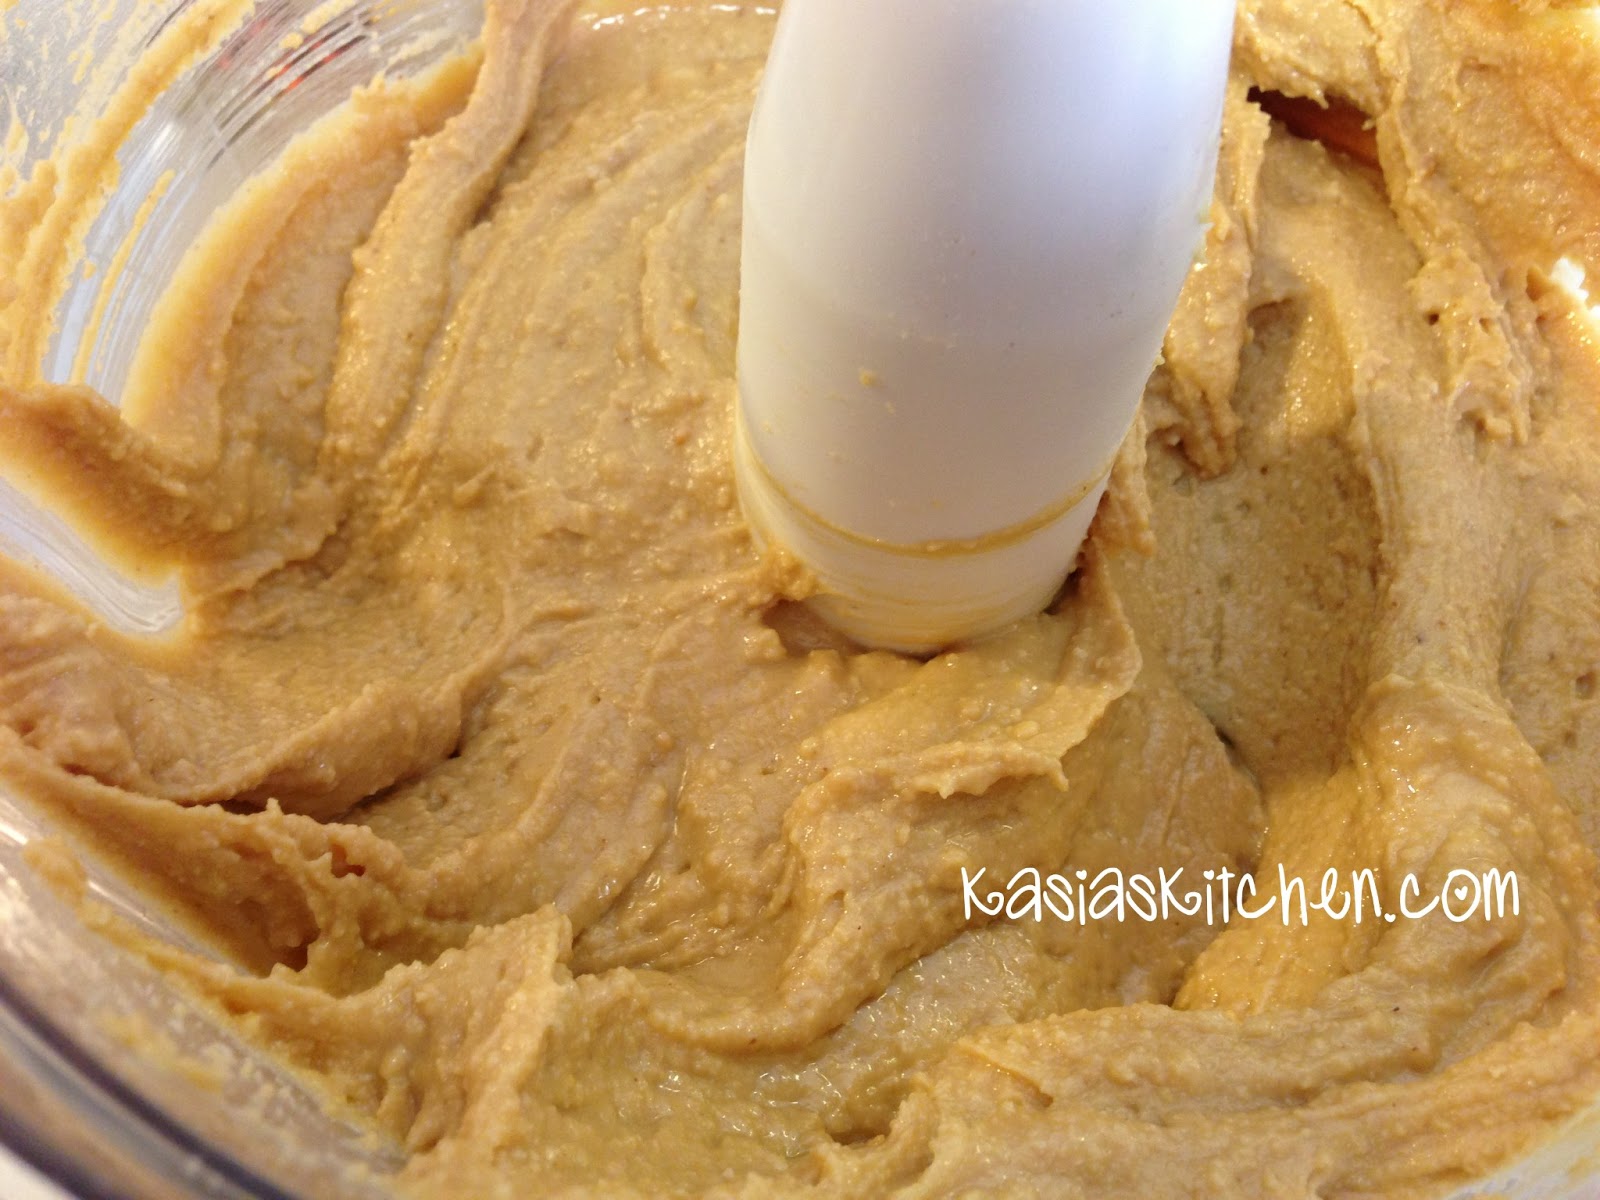
Just keep pulsing, just keep pulsing, just keep pulsing. The next phase it will start to form a gooey ball. Pause to take a picture if you want, but then… Just keep pulsing, just keep pulsing.

Voila! Before your eyes the gooey ball, that was once crumbly powder, that was once hard peanuts, will transform into a luscious creamy nut butter!

It will also be slightly warm right after because of the hard work of the food processor. Slather in on a banana (or a spoon, or your finger) and enjoy immediately! Then put it in a jar or air tight container and show it to all your friends. Or give them some! They’ll love you more than they already do.

This homemade peanut butter will keep in your refrigerator for 2 months! And then we will of course make more. Seriously. Do it. 


Pin It

Super Bowl Party Pizza Puffs

Guess who doesn’t know who is playing in the Superbowl? Guess who didn’t even know that the Superbowl was this weekend and planned a staff dinner party for that night? Guess whose entire staff also didn’t know the Superbowl was on that night or have any desire to change the dinner party to another night? I sure did pick the right 6 girls to be on my staff! So you get it, I don’t like or care about football.

HOWEVER, I do like parties and party foods! Even though I’m having a staff dinner party that’s Greek themed where we might turn on the TV and watch the Superbowl commercials, I totally support Superbowl parties. Go to a Superbowl party if you didn’t make other plans like I did. Go and bring something! Bring something healthy that people won’t even believe is healthy on a pretty plate to steal the show away from the wings and rotel dip. Bring these Party Pizza Puffs and everyone will be talking about your offerings during the commercials (or during the game if you’re going to a party with girls like me).

Party Pizza Puffs

  • Servings: 12
  • Difficulty: EASY
  • Print

Recipe slightly adapted from emilybites.com.

This recipe is for a single batch which makes about 24 mini puffs. I actually trippled it when I made it because I was feeding a lot of people. For an average size Superbowl party I’d for sure double it.

INGREDIENTS:

  • 3/4 cup Heart Healthy Bisquick
  • 1 tablespoon Italian seasoning
  • 1/4th teaspoon red pepper flakes
  • 1/2 teaspoon onion powder
  • 1/2 teaspoon garlic poweder
  • 3/4 cup skim milk
  • 1 large egg
  • 1 cup reduced fat mozzarella cheese
  • 1/4 cup grated Parmesan cheese
  • 4 1/2 ounces of turkey pepperoni, quartered
  • marinara sauce for dipping

DIRECTIONS:

Preheat oven to 350. Use non-stick cooking spray to spray a 24 count mini muffin tin. In a large bowl mix the Bisquick, red pepper, Italian seasoning, garlic powder and onion powder. Add the milk and egg and whisk until combined and lump free. Add the cheeses and pepperoni and stir until combined.

I used a cookie scoop to divide the batter evenly among the muffin cups. Bake for 18-20 minutes or until golden brown. Let them cool slightly on a cooling wrack before serving. Serve with warm marinara for dipping!

I made these for my RAs and for a Christmas Eve party. EVERYONE loves them. Women, men, teenage boys (they really love them), even dieters!