You know how I have all those weird seasonal food aversions? No soup, grilled cheese sandwiches, or hot coffee unless it’s cold out. No watermelon, or any melons for that matter, unless it’s hot out. I also kind of feel this way about oatmeal. I LOVE a bowl of warm cozy oatmeal in the fall and winter, but I’m not a huge fan in the summer.
I kept seeing cold overnight oatmeal on Pinterest. I didn’t buy into it at first because I thought the texture might be weird and most recipes called for chia seeds, which freaked me out a little. Chia pets. Chair seeds. They are the same things. I’m not a picky eater, but that made me hesitant. Since then I’ve discovered it’s normal and okay to eat chia seeds. I’m not scared of them, but still haven’t tried them. Apparently they are really good for pregnant women. One day when/if I get pregnant, I’ll add chia seeds to my oats. For now I’ll save my self a trip to a health food store.
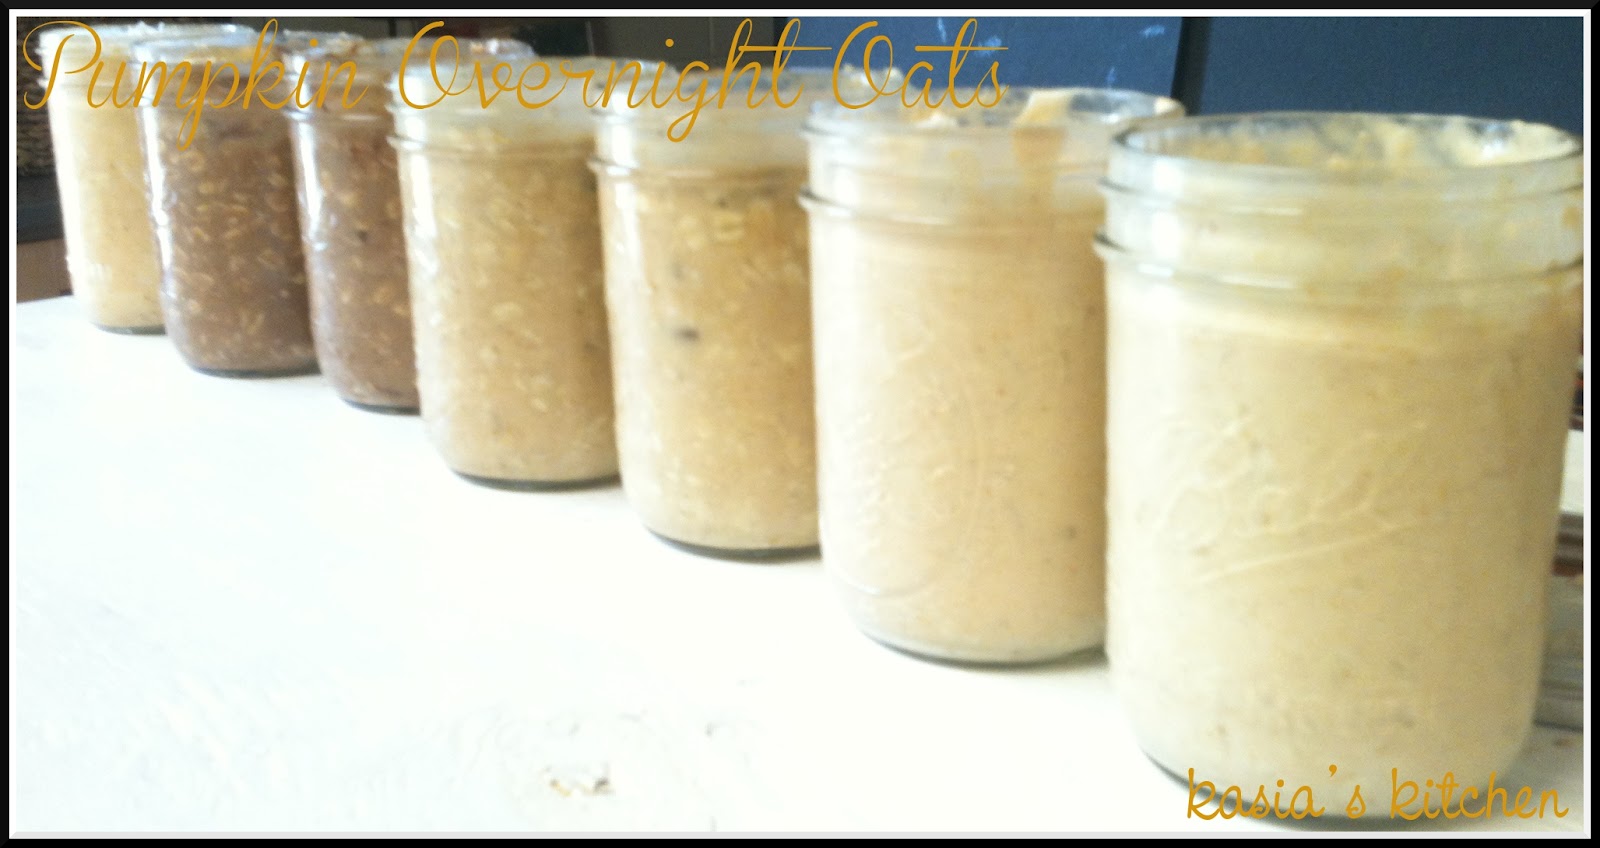
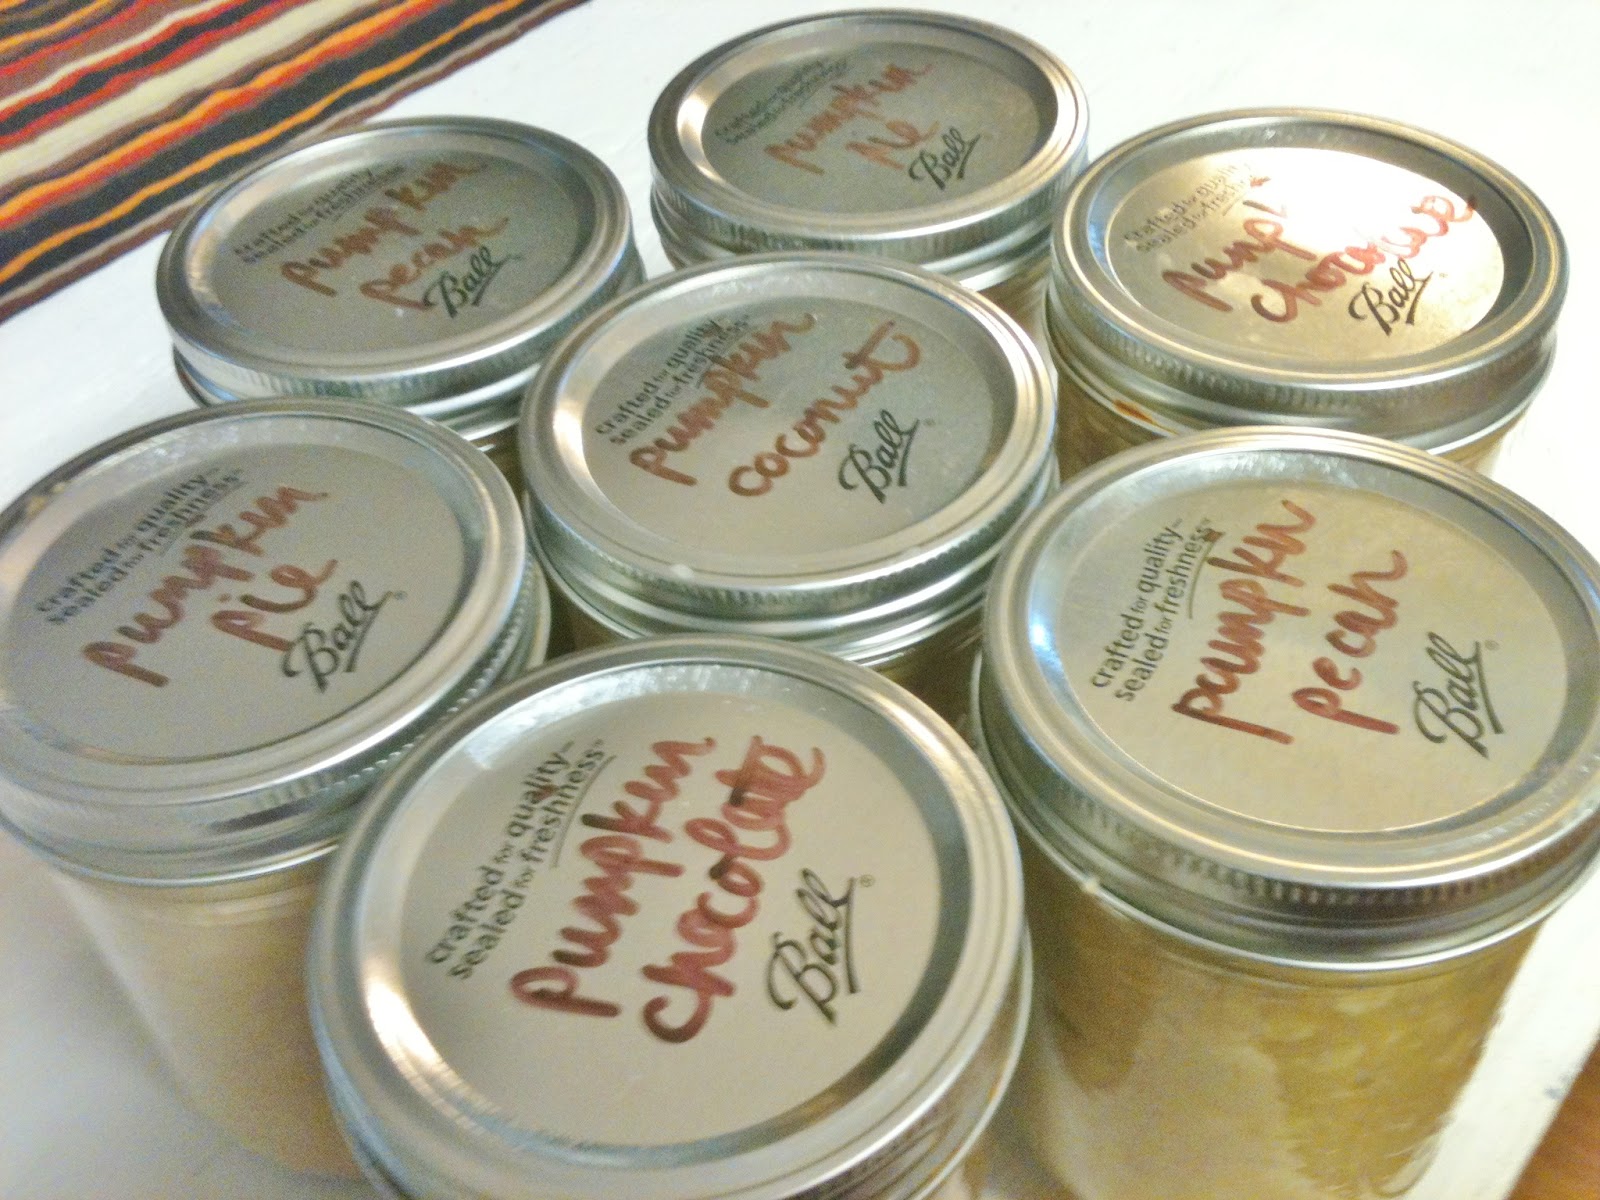
All that to say, try these! You don’t have to have the fancy chia seeds. My pregnant friend made them first (with chia seeds) and highly recommended them to me. We have similar food likes, so I trusted her recommendation. I’m in love! I got obsessed and game up with EIGHT flavor combinations. I’m gonna work on a pumpkin version next week. This is one thing that will not be a seasonal food. I love them for summer to take the place of hot oatmeal, but I love them so much I will definitely eat them year round.
Base Recipe:
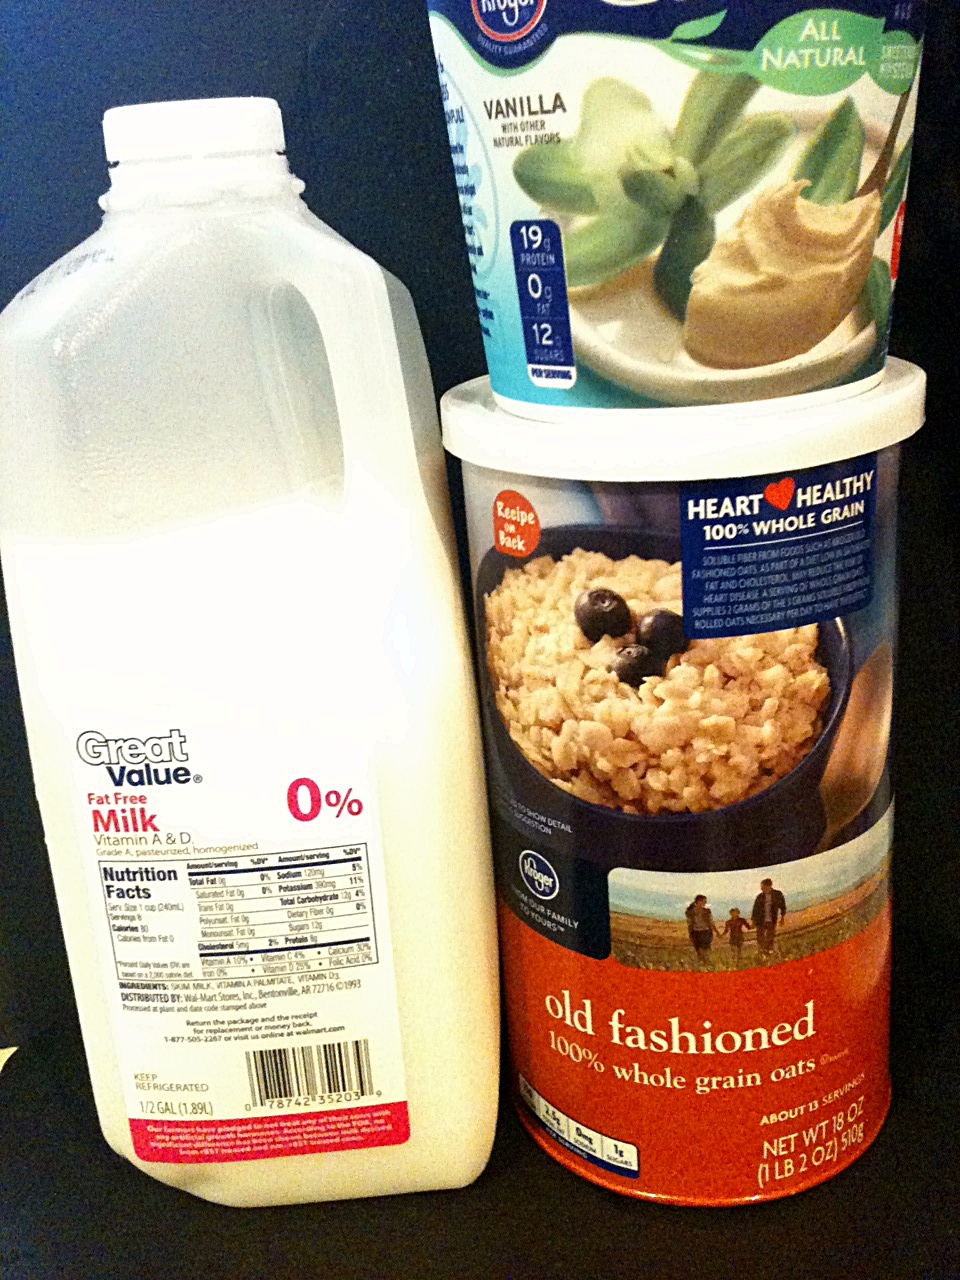
- 1/2 cup old fashioned oats (NOT the instant kind)
- 1/2 cup skim milk
- 1/2 cup non fat Greek vanilla yogurt
Directions:
Pour yogurt, oats and milk in a pint sized mason jar. Shake it until all ingredients are combined. At this point your jar will be about 3/4ths full.
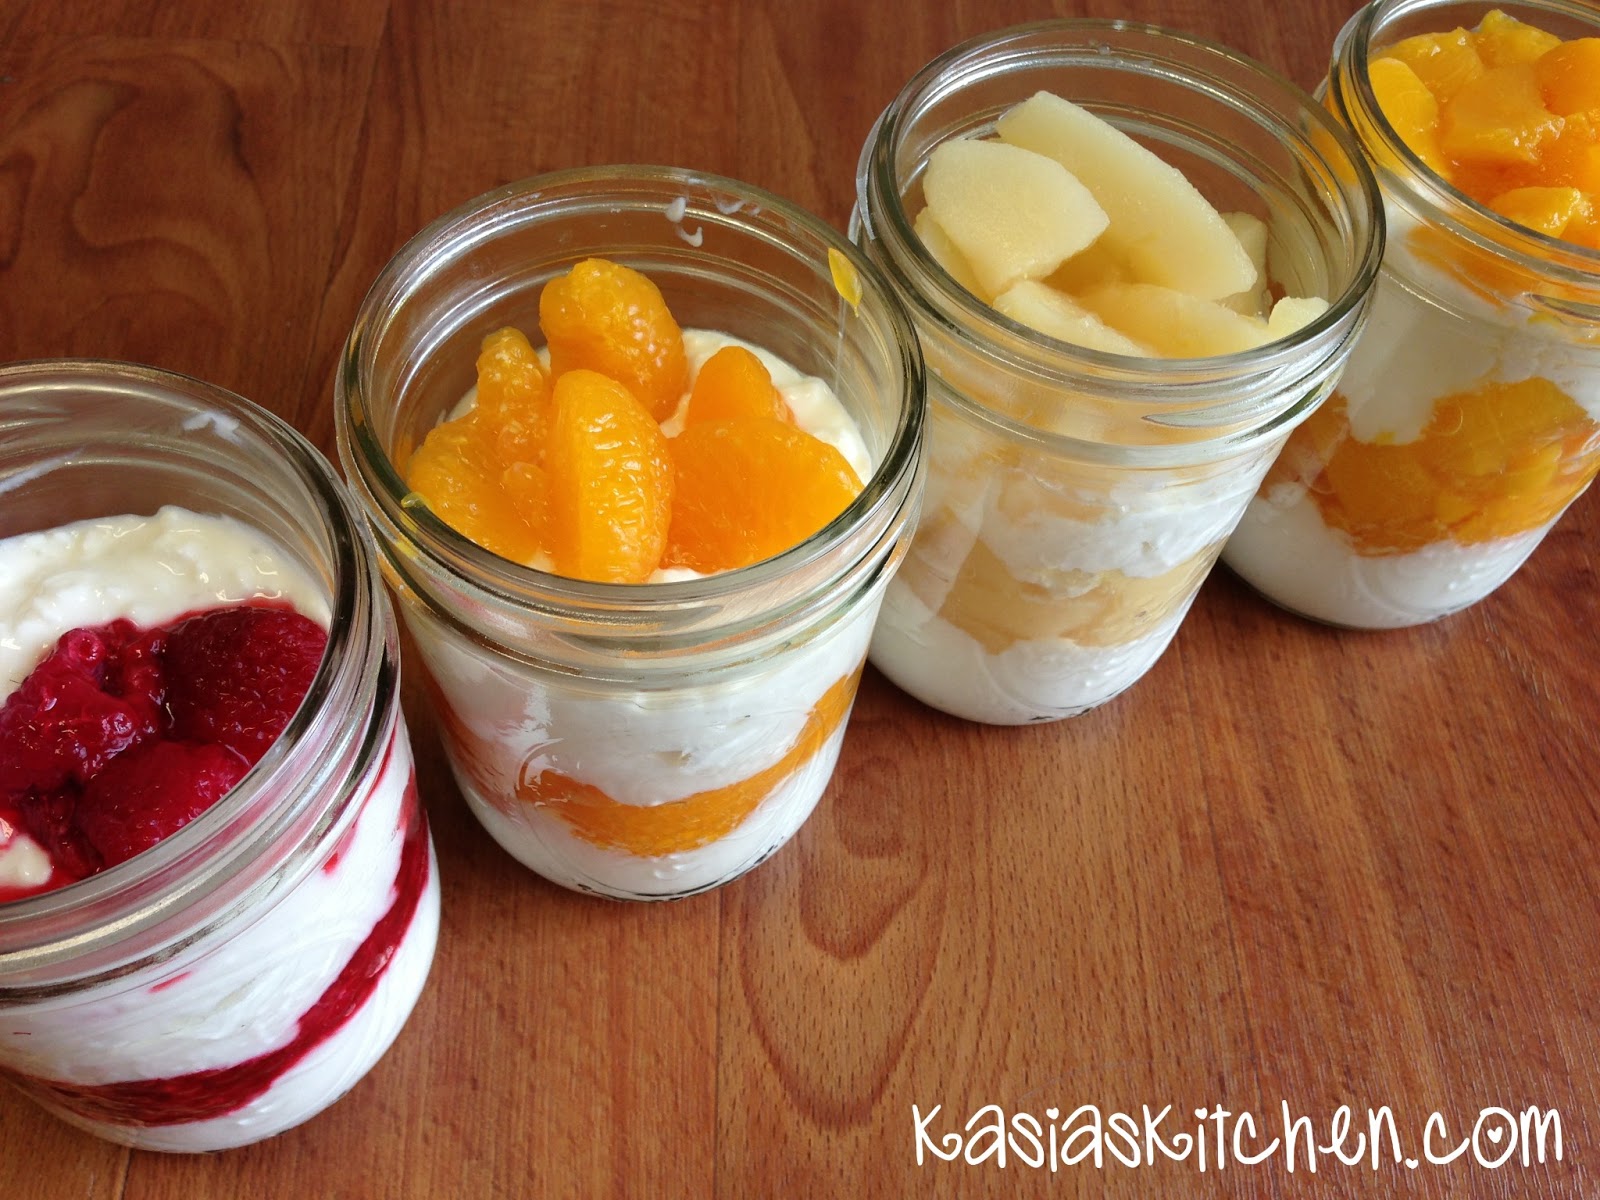
Add your toppings of choice, and shake until mixed. You may have to shake a little extra for some toppings. If it’s not combining well, stir in the toppings to combine all ingredients.
Refrigerate overnight. I made four at once and they were good up to 4 days. I don’t think I’d go more than 4 or 5 days because fruit and non-fat yogurt can produce excess water.
For pretty presentation you can save out tiny bits of your toppings to garnish the tops.
Each base recipe is 7 points on Weight Watchers. Extra points for different topping combinations are listed below.
Peach Melba
- 2 small nectarines (or peaches) diced
- 2 tablespoons raspberry jam
Add 2 points for jam.
Peaches and Cream
- 2 small nectarines (or peaches) diced
- dash of cinnamon
- drizzle of honey
Add 1 point for honey.
Strawberry Banana
- 1 medium banana, diced (I sliced it, halved the slices, then quartered the slices)
- 2 tablespoons strawberry jam
Add 2 points for jam.
Banana Nutella
- 1 medium banana, diced (I sliced it, halved the sliced, then quartered the slices)
- 1 tablespoon Nutella (one really is enough, Nutella is SWEET)
Add 3 points for Nutella.
Banana Peanut Butter
- 1 medium banana, diced (I sliced it, halved the sliced, then quartered the slices)
- 1 tablespoon reduced calorie peanut butter (2 if you like more)
- drizzle of honey
Add 2 points for 1 tablespoon of peanut butter + 1/2 teaspoon of honey.
Banana Chocolate (for those who like chocolate, but not Nutella)
- 1 medium banana, diced (I sliced it, halved the sliced, then quartered the slices)
- 1 tablespoon cocoa powder
- 1 packet of Splenda
No extra points! 1 tablespoon of cocoa powder is zero. According to recipe builder you’d count the points for bananas in recipes, but I say if they’re free as a snack they are free as a topping!
Banana Nut
- 1 medium banana, diced (I sliced it, halved the sliced, then quartered the slices)
- 1 tablespoon honey
- 1/4 cup chopped nuts
Add 2 points for honey and how every many points for the nuts you choose.
Apple and Cinnamon
- 1 apple, diced
- 1/2 tablespoon brown sugar
- 1/2 teaspoon cinnamon
- Parkay spray butter
Saute diced apple with a little Parkay spray butter, cinnamon, and brown sugar until they loose a tiny bit of their crispness. Add 1 point for brown sugar.
Stir into base recipe. Shake to combine completely.