Homemade Salsa & Smashed Beans

Meal planning ideas and inspiration come from everywhere for me. Other food bloggers inspire ideas often, restaurant dishes, cravings, the Food Network and it’s many shows that are often [read always] playing on my television, walks down the grocery isle, or just crazy brainstorming.

This meal plan inspiration was a combo! First my friend and fellow blogger Emily made my mouth water and cravings begin with a salsa recipe she posted. She adapted hers from the Pioneer Woman‘s homemade salsa recipe. Once I knew I had to make salsa, I was on the lookout for other ideas to make it into a meal. Along came Melissa D’Arabian’s Ten Dollar Dinners’ chile episode. I used her Smashed Black Beans as an inspiration to make my own version.

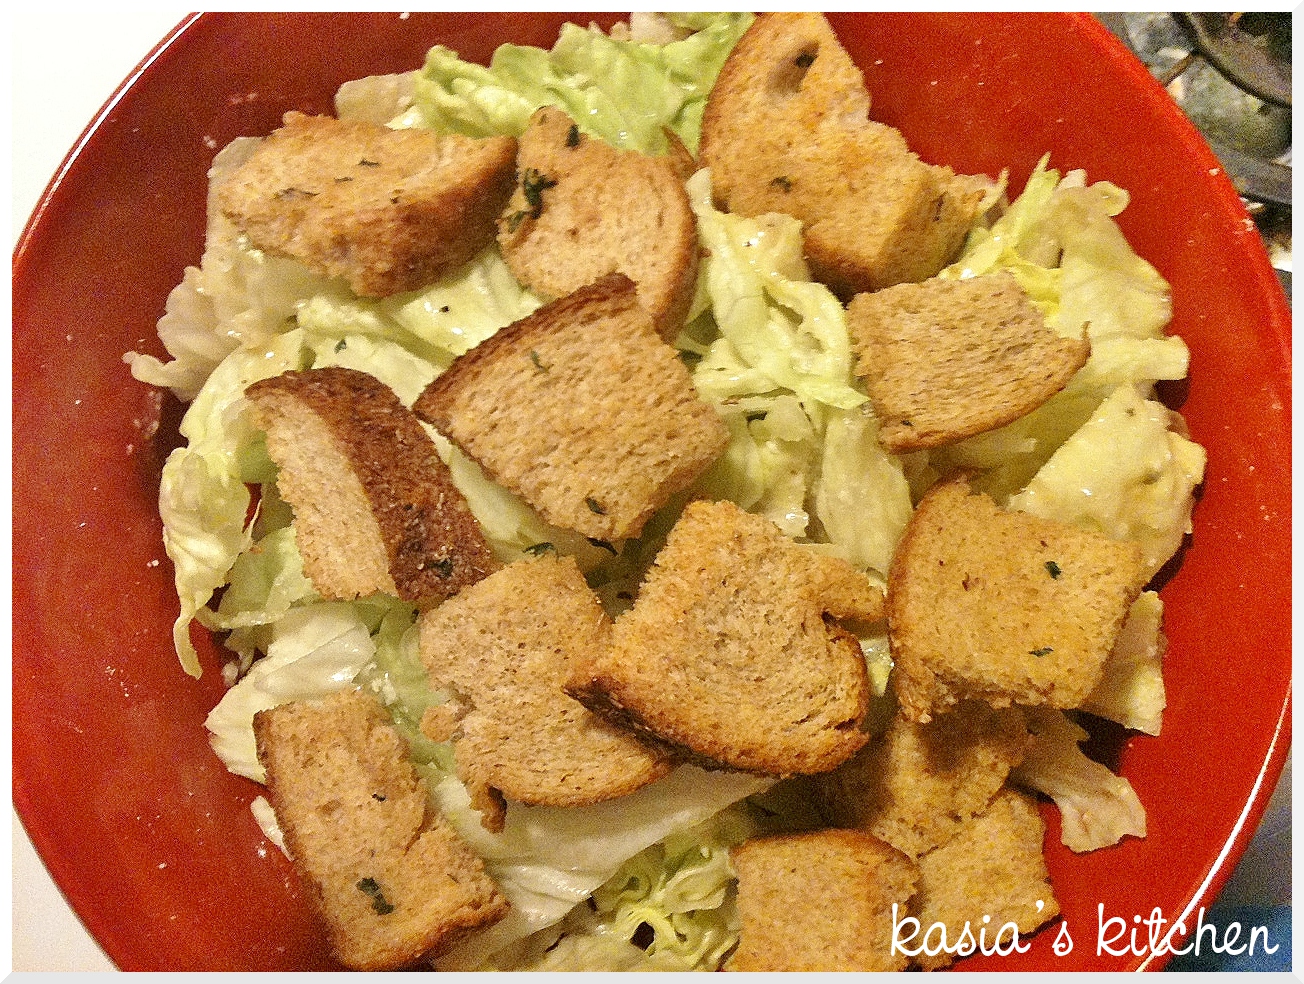
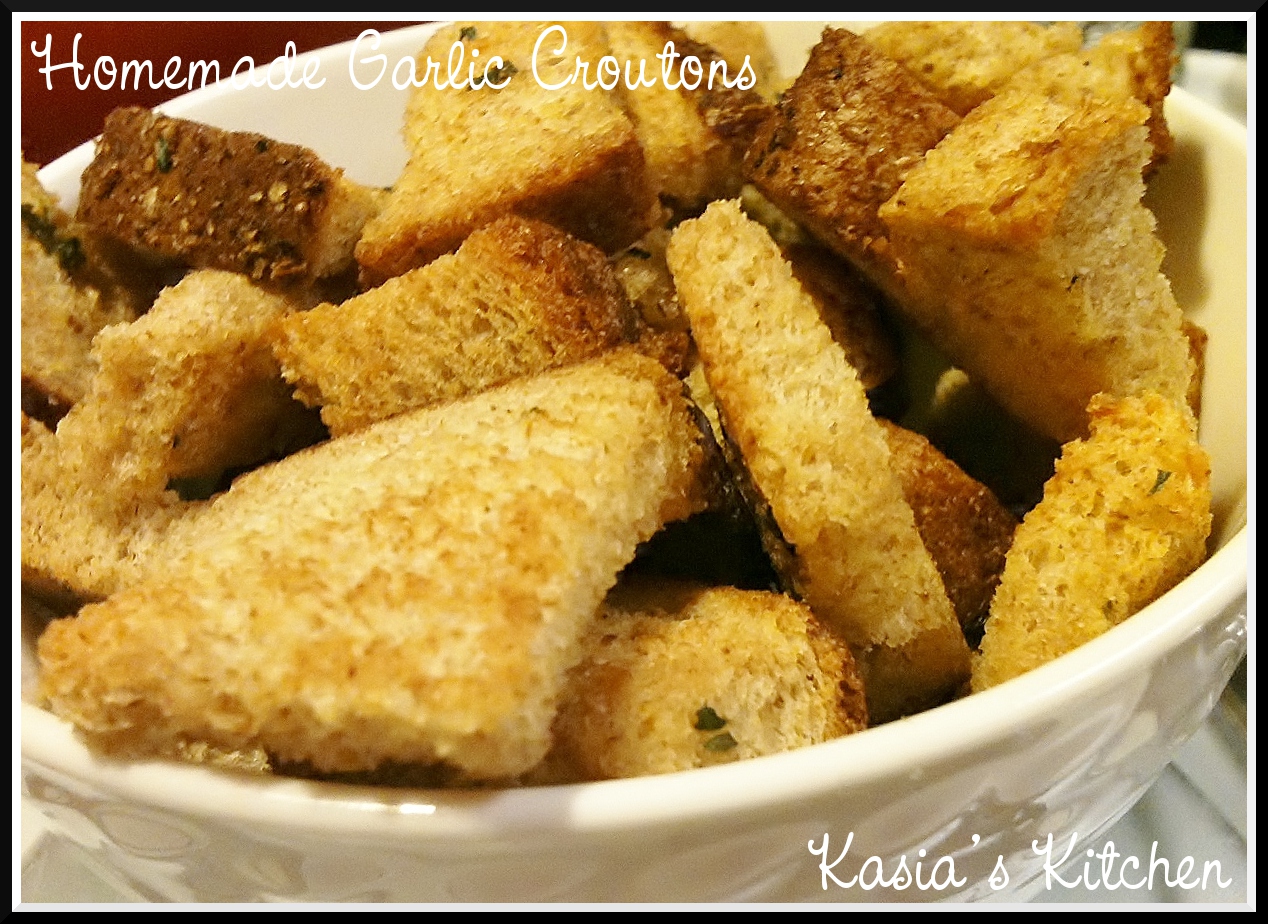
Note – I also added stuffed peppers to this meal that were a total flop. Melissa made cheese and corn stuff peppers, battered and fried. I tried to do a veggie stuffed pepper idea with corn, spinach and tomatoes, baked. Some recipes are great! They work out, I share them, I make them again. Some just aren’t! Real life folks. Everyone creates recipes that don’t work, even people with food blogs.


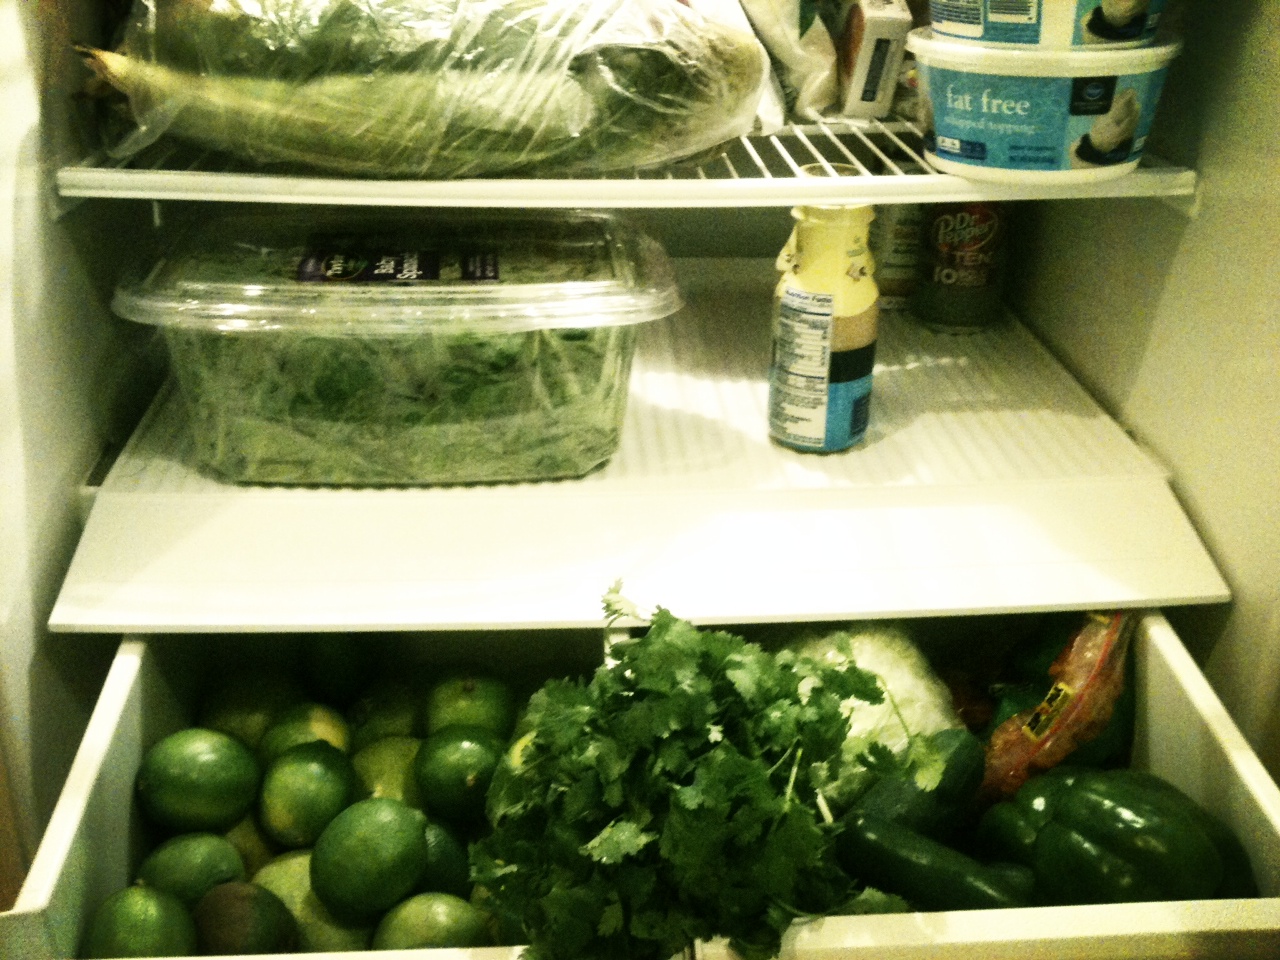
Green! I told you this week’s recipes could be summed up with one word, green. But seriously, how can something not be good that starts so fresh!?

Homemade Salsa

  • Servings: lots
  • Difficulty: EASY
  • Print

(Adapted from Pioneer Woman’s recipe)

INGREDIENTS:

  • 1 – 28 ounce can of whole tomatoes, with juice
  • 2 cans of diced tomatoes with green chilies (like Rotel, I used Great Value brand)
  • 1/2 red onion, chopped
  • 1/2 cup green bell pepper, chopped (optional)
  • 1 teaspoon of jarred/bottled minced garlic (or 1-2 cloves to taste of fresh chopped)
  • 1 whole jalapeno, sliced (I left the seeds, but if you don’t like spicy, discard them.)
  • 1/4 teaspoon sugar
  • 1/2 tsp salt
  • 1/4 tsp ground cumin
  • 1 cup cilantro (You either love or hate cilantro, I love it. If you hate it, leave it out or add less.)
  • juice of 1 lime

DIRECTIONS:

I made mine in a big food processor, but Emily made hers in a blender. Either would work. Toss everything in and pulse/blend! Do it to a consistency that you like. I like it pretty thin. It’s like your favorite Mexican restaurant’s salsa, but BETTER! Yes. I said it. I like this made at home salsa even better than the Mexican restaurants’ versions.
Refrigerate for at least an hour. Yields about 5 1/2 – 6 cups. GUILT FREE! 0 points. Serve with chips.


Look at that seed! It’s got a kick. I like it, but if you are sensitive to spiciness you might want to leave out the seeds. That said, I’ll never leave them out. I was quite proud of my taste buds for handling/liking it.
I don’t know why I’ve never braved salsa before! I always thought it was some long expensive process involve blanching and skinning tomatoes plus more. The canned tomatoes in this recipes and the simplicity won me over forever. Don’t count on me serving jarred salsa to anyone again, unless I’m in an unplanned pinch.

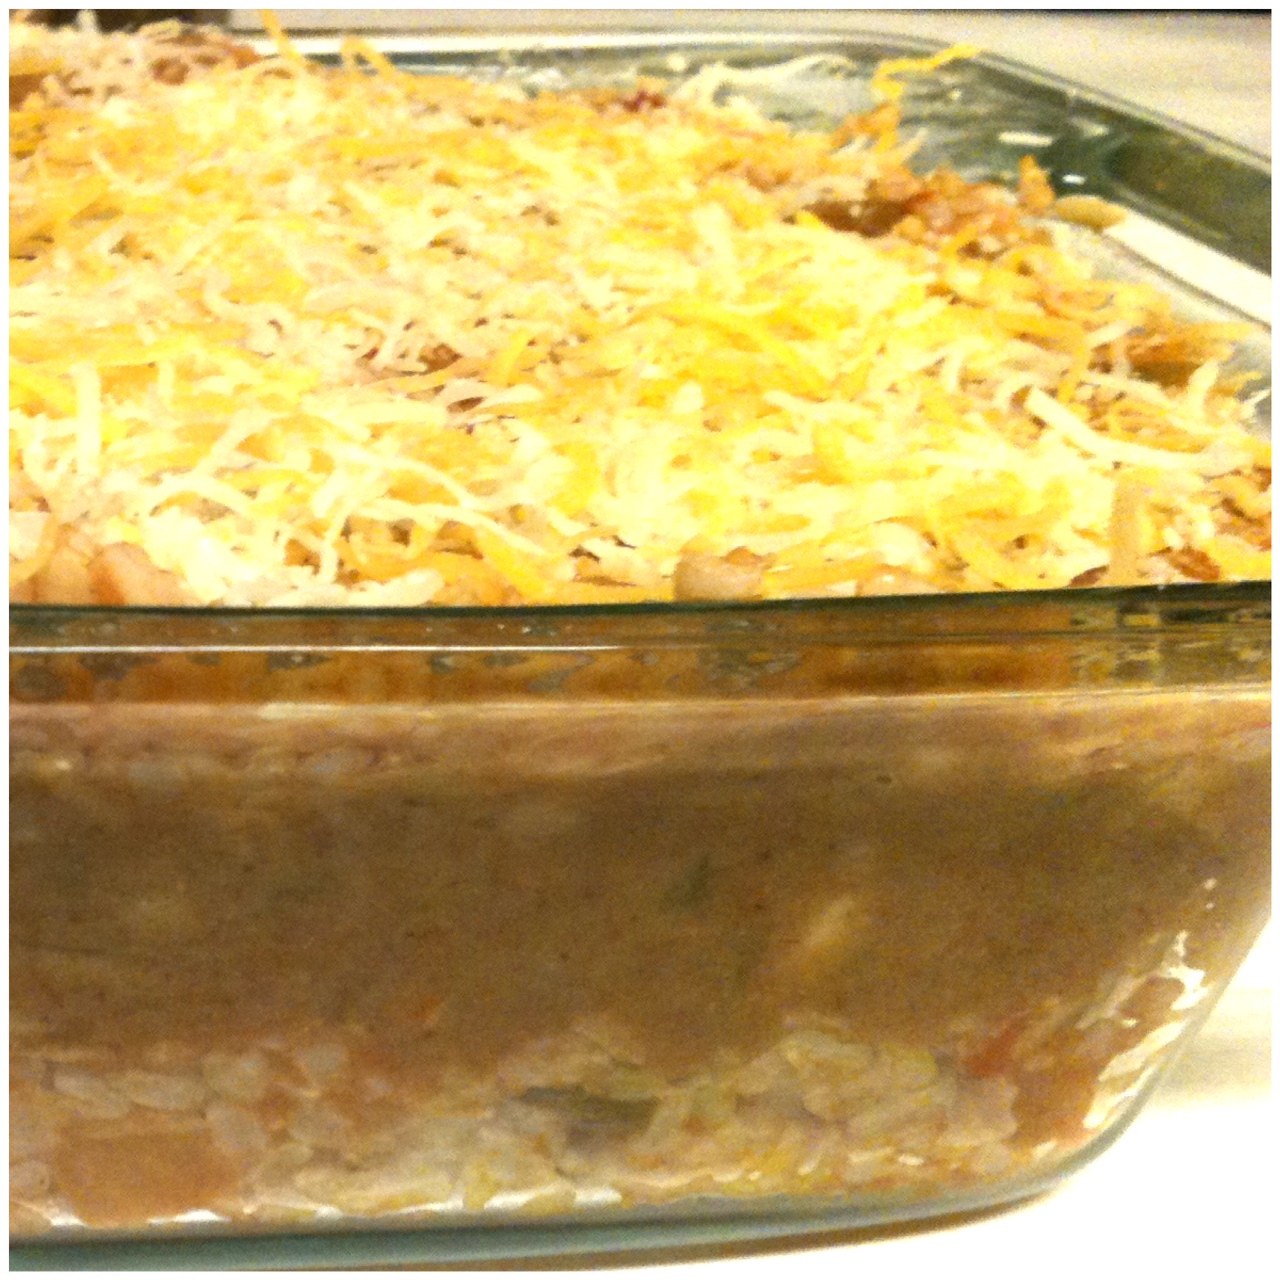
Smashed Mexican Beans

  • Servings: 1
  • Difficulty: EASY
  • Print

CALORIES:  260 for 1 serving (via MyFitnessPal)

INGREDIENTS:

  • 1 yellow onion, minced
  • 1 jalapeno, minced (I left the seeds in)
  • 1 teaspoon olive oil
  • 1 teaspoon ground cumin
  • 1 teaspoon dried oregano
  • 1 teaspoon salt
  • 2 teaspoons jarred/bottle minced garlic (or 3 cloves fresh minced)
  • 1 can of black beans
  • 1 can of dark red kidney beans
  • 1 cup chicken stock
  • 1 tablespoon white vinegar
  • 1/4 cup reserved cooking liquid

DIRECTIONS:

Cook the onions and jalapeno in olive oil over medium heat until soft. Add cumin, oregano, salt and garlic. Cook for another 3-5 minutes. Add the beans and stock and bring to boil. Turn the heat to low and simmer about 15 minutes.

Remove the beans from stove top and strain, reserving the cooking liquid. Smash beans with a potato masher. Add in vinegar and cooking liquid and continue to smash until combined and a consistency that you like.

Yields about 3 cups. Each 1/2 serving is 2 points (6 servings). Slightly larger 3/4 cup servings are 3 points each (4 servings).


And what do you do when the main dish to go with your two yummy sides that are way better than the main dish doesn’t work out? Made the sides into their own main dish of course. Nachos! Layered with good corn tortilla chips, beans, a little cheese and avocado chicken warmed in the oven at 350 for 7-10 minutes. Topped with fresh chopped avocado and served with abundant salsa for dipping.


Pineapple Dreamsicle Fluff

You know I don’t love summer. I’m admittedly a little bit of a diva and I hate sweating. If I could have it my way, I’d live in a place where people had the same hospitality and helpful spirit as my great Mississippi, cooked just as well, but the temperatures would be quite different. All year round it would never be too hot to wear cardigans. In Cardiganland I’d never sweat or be hit in the face with pea soup thick humidity that makes my hair look like a mess. 
Dislike for Mississippi heat and summers aside, there are parts of summer I like. I like afternoon storms, even the ones with lightening and hail like we had yesterday. I like snow balls. I like popsicles. I like Smith County watermelons. I like paper sacks full of home grown veggies from my pawpaws garden. I like cookouts and BBQs. I like sandals. I like swimming pools. And despite my love obsession with fall and all its flavors, I actually love the flavors that go along with the rising temperatures of summer. This little easy to make treat is guilt free, full of summer flavors and reminds me of my favorite snow ball, dreamsicle! 

Pineapple Dreamsicle Fluff

Ingredients:

  • 1 can mandarin oranges, drained (in Splenda)
  • 1 can crushed pineapple, not drained (in Splenda)
  • 1 package sugar free vanilla pudding (big box)
  • 1 container of fat free cool whip 
  • coconut shavings (optional edible garnish)

Directions: 

Stir together pudding mix, cool whip, drained oranges, and pineapple with its juice until combined. Chill and eat!

Yields 5 cups and 10 – 1/2 cup servings. Each 1/2 cup serving is 1 point on Weight Watchers! Totally guilt free. I sprinkled a little shaved coconut on top of mine. 1 tablespoon of sweetened coconut is 1 point, but I didn’t use a whole tablespoon. I’m certain I will keep my refrigerator stocked with this all summer. 

What’s your favorite summer treat? 

Pin It

Dr. Pepper Ten Brownies

Weight Watcher’s at home chefs and bakers have to be some of the most innovative people out there! Tips and tricks are passed down at every meeting. Shortcuts and substitutes can be found on any food blog that shares Weight Watcher recipes. Some of my favorite recipes are the SUPER easy ones. The mix this with a box of that and done ones! Lower in points and easier? Win win! 
Cake mix recipes mixed with cans of diet soda (or assorted cans of fruit) are all over the place. I haven’t actually had a cake mix with soda that I like yet. (However, I do enjoy cake mixes mixed with pumpkin or pineapple.) But… when I saw this Diet Coke Brownies recipe, my interest was stirred. It helped that it came from a healthy eating blog that I trust. Craving chocolate probably helped a bit too. Needless to say, I found myself having to try out a version of these brownies. Dr. Pepper Ten is my all time favorite diet soda and I always have it. If I don’t, I’m mad at someone for drinking the last one. I think it was the perfect diet soda for these easy peasy brownies. 

Ingredients: 

  • 1 box of brownie mix
  • 1 can of Dr. Pepper Ten (or diet soda of choice)

Directions: 

Stir brownie mix and soda together until smooth. Pour into a sprayed 9×13 pan. Bake at 350 for 30 – 40 minutes. Follow the package directions for cooking, but you may have to cook it a tad longer. Just rely on the tooth pick trick. 
Now… if you want to be good and very self controlled, you can (and should) stop there. However… Since we’re not adding eggs or oil, why not add a little coconut shavings? I mean aren’t they just so pretty and just in need of being the perfect topping for something? 

Since we’re adding things, a few chocolate chips sprinkled on hot right out of the oven brownies are the inseparable best friend to coconut shavings. 
Then… the fat free sweet condensed milk just felt left out! He asked nicely to be drizzled atop. I just couldn’t bring myself to tell him no. 

And that’s how Dr. Pepper Ten Brownies became Coconut Dr. Pepper Ten Brownies.

The Weight Watcher’s Recipe Builder was down tonight, so I couldn’t add it the little extras. But word to the wise, make these for people! They are dangerously good and easy to snack on. Without the extras, according to the recipe I used as a base, they are 4 points each for 18 servings. Mine made 12 large servings or 24 small ones.


Pin It

Meal Planning 101: Week 8

(Disclaimer – This is a catch up post! If you just want the meal plan, scroll to the bottom.)

Oh hi there. I took a little unplanned vaca from cooking and blogging.

Good news? I’m back with tons of cooking and blogging inspiration and vowing to not eat anything prepacked or frozen for at least a month.

Bad news? I got a little over inspired and spent more than my planned grocery budget. Oops. I now vow also to not eat out for a while (good plan anyway, but I kinda used the eating out budget for groceries).

Since it’s been a while, let’s catch up. My life since the last time we chatted can be summed up in three words.

Moving. Instagram. Birthday. 

Since I missed you, and I’m certain you missed me back, can I walk you through a quick picture recap?

Birthday. I’m officially “almost 30.” I have now begun my last year in the “20 Somethings” age range. I have to say it… #YOLO!

Since you’ve missed me and my rambliness (and my ability to make up words like rambliness) let’s linger on YOLO. Just for the record, I think YOLO, the acronym and common hashtag for “you only live once,” is the cheesiest, silliest, most ridiculous hashtag/acronym/buzzword out there. BUT… it makes me giggle. And hey, sometimes it just fits. While we’re interjecting and rambling about YOLO I have a quick story. On the last night of the semester, my RAs and I kept joking and YOLO. At the RA Banquet, we decided that we had to have a YOLO moment that night, our last night together as a staff. Our version of YOLO turned out to be “borrowing” a whole pineapple from the fruit table. We “borrowed” it all the way home, cut it up, ate it and tweeted a picture with the infamous #YOLO hashtag. Yeah. We’re cool.

Back to business. The beginning of my last year as a 20 Somethings was great! There was lots of food, lots of friends and lots of love.

Birthday Breakfast (Starbucks – duh!)
Birthday Dinner at KEIFER’S
FREE Birthday Frozen Yogurt
My first Tervis Tumblers! 
Favorite flowers from Melony
Crafty sewing book from the RDs
Moving. We know I hate it. Packing. Unpacking. It stinks! But I’m being positive and making the most of it. I brought all my favorites, finally unpacked, and am loving my quirky kitchen for the summer. 
A happy entrance makes me feel better about
walking in to the pseudohome. 
It has buttons for the eyes and it’s yellow! 
I brought ever single kitchen gadget I own.
I couldn’t part with them, even for 2 months. 
Favorites make it homey. Pictures and owls are a must. 
Instagram. I’ve had it for ages, but finally figured out how to use it last week. I’m certain I’ve been driving people crazy with my instagramming updates. But hey. It’s a social media driven world, I’m just living in it. I also also use Diptic (for collaging and taking darkness out) and Picfx (for fun light filters) like nobody’s business. 
I finally got my Starbucks Gold Card! (And
learned how to do the cool fade technique.)
Mocha Cookie Crumble Frappe with Chocolate Whipped
Cream = NEW FAVORITE!
First Home Goods Visit and the isle the captivated me.
Okay so, I had a lot of Starbucks last week. 
Coconut shavings – my new favorite thing ever. 
No more shipped tahini! My local grocer carries it now.

Monday:

Veggie Stuffed Peppers, Homemade Salsa and Smashed Beans

Tuesday:

Chicken Florentine Pasta and Wedge Salad with Zesty Avocado Buttermilk Dressing

Wednesday:

Leftover Pasta

Thursday:

Leftover Fancied  Up Salad

Friday:

Grilled Tilapia, Grilled Corn and Mexican Quinoa Salad

Saturday:

Leftover Tilapia

Sunday:

French Dip CupsCaramelized Onion Dip with Asparagus Spears and Wonton Chips and Baked Onions

This weeks meals can be summed up in one word. Green! Look at all the green in my fridge. I don’t hate it.

Extras: 

Dr. Pepper Ten Brownies – Inspired by Diet Coke Brownies. Made Saturday night. Brought to small group on Sunday night. Recipe coming this week.

Pumpkin French Toast Casserole – Three or four times a year, mostly during the breaks that students are gone, we have a potluck breakfast in the our office suite. This past fall I brought a Pumpkin French Toast Casserole with Coffee Whipped Cream. We’re having another breakfast this Tuesday. I have that think where I think pumpkin only works in fall and winter months, but this was requested by multiples! I’m breaking my rule because I like my coworkers a whole lot.

Chai Banana Bread Muffin Cupcakes – I have bananas that need to be used. This seems like a perfectly good destiny for them.

Creamy Pineapple Dessert – Whipped up an altered more healthy version of this tonight. Recipe coming this week. Perfect for lunches or a quick healthy sweet tooth fix. And quite summery!

Can we still be friends? Even though I took an unannounced vaca and just posted a million and five pictures?

What’s for dinner at your house this week? 


Pin It

Double Chocolate Banana Bread

Once upon a time, I didn’t eat breakfast very often. I was either too rushed, not hungry, woke up too late or just (let’s be honest) too lazy. However, as a Weight Watchers doer and meeting attender I quickly learned breakfast is essential! Fact – people who eat breakfast loose more weight and are just generally healthier. 
As you should know by now, breakfast has become one of my favorites! I mean I can’t ever get enough of these make ahead crustless breakfast quiches, I’ve posted them twice with different variations and made them WAY more than twice. There were the make ahead breakfast burritos and banana pancake muffins. And now… CHOCOLATE! 
Is there anything better for breakfast than chocolate? I mean it’s bread. Bread is a breakfast food. It has bananas. That’s fruit. Fruit is a breakfast food. So Double Chocolate Banana Bread can most definitely be eaten for breakfast right?! Glad you agree. 

Double Chocolate Banana Bread

(Adapted from a Pinterest recipe.)
Recipe yields 2 loaves of bread, 12 slices each loaf, 24 servings, 6 Weight Watchers points per whole slice, 3 per half slices (which is a great snack size). Calculated using the Recipe Builder on Weight Watcher Etools. 

Ingredients: 

  • 2 cup sugar
  • 1 cup egg beaters
  • 2/3 cup unsweetened apple sauce
  • 2 1/2 cup mashed, ripe bananas (about 6)
  • 2 teaspoons vanilla
  • 1 1/2 cup white flour
  • 1 1/2 cup whole wheat flour
  • 1 cup cocoa powder
  • 2 teaspoons baking soda
  • 1 teaspoon salt
  • 1 1/2 cup chocolate chips 
  • Optional garnish – powdered sugar for dusting (not counted)

Directions: 

Preheat oven to 350. Spray the bottom of an 8×4 inch loaf pan with cooking spray. I only had one, so I did it in two batches. If you have two, even better! 
Beat sugar, egg beaters, and applesauce on medium speed until combined. Beat in mashed bananas and vanilla on low. 
Combine flours, cocoa, baking soda and salt in a seperate bowl. Beat into banana mixture one cup sized scoop at a time on low speed until combined. Stir in chocolate chips. 
Pour half of the batter into loaf pan(s). Bake 60-65 minutes or until center of bread doesn’t jiggle. Cool 10 minutes. Turn out of pan unto a wire cooling rack and cool completely. Sprinkle top with powdered sugar to pretty it up a little.

This recipe can easily be halved if you only want one loaf. But I’m telling you, it’s so good you’re going to want to share! Which means, one loaf for you and one for sharing. Trust me, you’re not going to want to share your loaf.

How do you like your breakfast? Sweet or savory? 


Pin It

Meal Planning 101: Week 7

So you know I’m a decent meal planner right? It’s a skill I’ve been blessed with, one of the few I’ll willingly admit I do well. I’m also not too shabby at cooking, baking and cabinet organization. 
Wanna know what I’m not good at? Goodbyes. I had to say goodbye to the best RAs an RD can know this week! Sure, one of them is basically my sister, two are coming back next year, one is joining the RD staff and one promises to come see me a lot (and happens to be sleeping on my couch this Tuesday night), but still! Goodbyes stink worse that goat cheese (I hate that stuff). I sulk for a few days and then realize I’m being silly. 
(Photo by the lovely Katelyn Williams – she has a blog!) 
Know what else I’m not good at? Packing. Unpacking. Folding clothes. Packing. Packing. Packing. 
Guess who has less than 5 days to have her entire apartment packed up to go into storage for the summer while she lives in a student apartment for renovations? Yep. And guess who hasn’t packed a single box yet? That’d be me again. 
So guess what happens when I have less than 5 days to pack up my entire apartment and need every ounce of spare time possible to do so (and wasted a few quality packing days sulking about missing my RAs and not having summer friends)? 

I’ll spare you an actual meal plan this week because my meal plan consists of frozen pizza, frozen Smart Ones, frozen steamer meal type thingies, frozen veggies, Dr. Pepper 10, premade coffee and more frozen things. 
Reasons – 1. The aforementioned packing procrastination. 2. I actually do need to pack up my cookware and kitchenware. 3. I don’t want to buy big groceries, because that’s just more to pack and move. 4. Cooking a planned meal can take some time! I need that time to pack. 
Highlights – 1. I actually like frozen pizza better than real pizza and Kroger’s BBQ Chicken Pizza is my fav! 2. Smart Ones were 4 for $7! 3. Green Giant’s Just For Ones come with Weight Watchers points listed on them AND are a perfect way to add completion to a frozen meal. 

In other quick news, I begin my last year in the 20 somethings decade in 7 days. I’ll be 29 on May 14th! To me this is a big birthday because it’s the last one before 30. I was kinda bummed that my RAs wouldn’t be here to celebrate it with me, because I love them! Well…

They surprised me! I was a total brat and made it REALLY hard but they did it! It was actually a complete surprise. I had no idea whatsoever! First time ever I’ve been completely surprised. AND?! They bought me the most perfect presents ever!

One of my strengths is individualization. To let you in a little on what that looks like…

Your Individualization theme leads you to be intrigued by the unique qualities of each person. You are impatient with generalizations or “types” because you don’t want to obscure what is special and distinct about each person. Instead, you focus on the differences between individuals. You instinctively observe each person’s style, each person’s motivation, how each thinks, and how each builds relationships. You hear the one-of-a-kind stories in each person’s life. This theme explains why you pick your friends just the right birthday gift, why you know that one person prefers praise in public and another detests it, and why you tailor your teaching style to accommodate one person’s need to be shown and another’s desire to “figure it out as I go.” 

That being said, I HATE gift cards! It was a total AHA moment when I realized the reason I hate them is because of how much I value individualization. The greatest feeling in the entire world to me is when I know that someone knows me. When they know me well enough to know I’d like a song, a band, a movie, a store, a shirt, or the absolute best birthday presents in the world! 
My RAs not only know me, but they listen to me! Almost everything they got me was something I barely remember mentioning in conversations that I wanted or wished I had. They got me a cookie scoop, jumbo muffin tin, jumbo muffin cups, a cupcake decorating kit, a cupcake display tree, a watermelon knife AND chalkboard place mats (MY FAVORITE – you’ll see these on the blog OFTEN). 
So next week, I’ll be back. With a REAL meal plan that doesn’t consist of frozen things. Wanna help me pack? 


Pin It

5 Minute Fruit Crisp

As you surely know, I love Weight Watchers. It’s the only “diet” that works for me, even if it’s not working so well right now. Okay well even if I’m not doing it so well right now. Shhhhh. Don’t judge my lack of motivation and efforts. Students will be gone soon and there will be no more late night parties, end of the year celebrations, midnight movie premiers, or “hey look, I bought a dozen Krisy Kreme donuts and I’m bringing them to your apartment to share” moments until August! Don’t get me wrong, I will totally miss those faces like crazy. In trying to be positive about summer transitions, I got super excited about the mostly unlimited possibilities to eat healthier for a few solid months and catch back up on my weight loss. 
However, weight loss doesn’t exist or work for me without dessert! Call me crazy, but I definitely loose more weight knowing I can have dessert than cutting it out. I love to make healthy desserts and made over desserts. Without RAs or students here to feed made over (or not so made over in some cases) desserts to, a problem arises! Even healthy made over desserts have leftovers. Desserts are good for treats, not constant access! So what do we do? Oh I know! Make individual 5-minute microwaveable desserts. 
5-minute microwaveable desserts are totally in right now. This summer without RAs and living in a foreign kitchen, microwaveable desserts will be my weight loss dieting life savers. I was inspired for this particular recipe by Jo and Sue’s Blog. Check them out! They have a ton of 5-minute desserts. This one is my new favorite, inspired by their 5 Minute Apple Crisp
Pro tip – keep these in your freezer! I’m fairly certain there are endless dessert and treat possibilities found in this bag. 

5 Minute Peach Berry Crisp

Kasia’s Kitchen original, inspired by Jo and Sue

Ingredients: 

  • 3/4 cup of frozen peaches, chopped
  • 1/2 cup strawberries, chopped
  • 2 packets of Splenda
  • 2 teaspoons of cornstarch
  • 2 tablespoon brown sugar, packed
  • 3 tablespoons quick oats
  • 1 tablespoon Brummel and Brown yogurt butter
  • 1 tablespoon whole wheat flour
  • 1/4 teaspoon cinnamon
  • splash of vanilla
  • dash of salt

Directions: 

Microwave chopped peaches in a ramekin for 2 minutes. FYI – the peaches are really easy to chop even in their frozen state. Add strawberries, Splenda and cornstarch to the peaches and stir until well combined. Return to microwave and heat for 1 minute. 
In a separate bowl combine the remaining ingredients. Mix with a fork until combined and crumbly. (Or you could just jump in there with your fingers and get messy like I did. It was fun.) 
Top peach and strawberry mixture with the crumble. Return to microwave for 1 minute. Tip – put a napkin in the microwave for this step! The first time I didn’t and had spillage all over the microwave plate. This time I did, see? The napkin caught the spill. 
Yields one large serving. On Weight Watchers recipe builder if you could the fruit it’s 8 points and if you don’t it’s 6. I choose not to count the fruit because fruit is free if it’s without your 5-8 servings a day! You can make that choice for yourself. 
Remember when I made frozen yogurt bites? Three of the little bites make this perfect quick and easy treat even better. It feels like a fruit crisp with ice cream, but way healthier! 

Pin It

Meal Planning 101: Week 6

This week’s meal plan was an easy one for me and regretfully not very helpful for you! There are a few crazy weeks in the Higher Education world for the life of a Resident Director. The beginning, middle and end tend to be a good bit busier than the rest. From last week until next Saturday life is crazy here. 
Crazy life does have its benefits though. I actually love the end of Spring semester because everyone is in a jumbled mix of making the most of every moment before summer, studying for finals, packing and sleep deprivation. Good memories are made. Another plus? Free meals! This week there is a banquet and two lunches I won’t have to pay for. There’s also a last meal with my RAs, a meal together because they can’t eat in the Caf anymore, and some of them have points left to use up in the Caf, so that usually involves free things for me too. 
This time next week when I post my weekly plan, I’ll likely be more rested and a little sad. My RAs will be gone. Some will be returning in the fall, some are moving on or getting married. I’ll also probably be pouty. I have less than two weeks to completely pack up my apartment, put most into storage, and live in a student apartment for the summer while they renovate my building and apartment. In July when I get to move back in, I’ll be happy to have a renovated apartment. For now, moving stinks! Don’t be surprised if next week’s plan has either comfort food, lazy food, chocolate or McDonald’s as I cope with change. 
I would apologize for my lack of meal ideas for this week, but I’m never sorry about free food. (Except for maybe on weight in days and the aftermath of the free food, eek. Maybe I won’t weigh in this week…) I’ll use the extra time I have from not cooking meals to make the most of my moments this week. Okay and maybe I should pack a little. Wanna help? I’ll bake you something! 

Highlights From Last Week’s Meals


Baked Tilapia with Jalapeno Cream Sauce, Pea Salad & Roasted Squash. 

Baked Taco Shells! Put them right on oven rack.
They were perfect carriers for Crock Pot Salsa Chicken Taco Salads. 

Another batch of the Perfect Brown Rice. Look at it? It really is perfect! 

Mexican Brown Rice Casserole (without spinach, replaced corn with). 

Monday:

Ground Beef Stroganoff Casserole and Roasted Snow Peas & Carrots (didn’t get to it last week)

Tuesday:

Leftover Casserole

Wednesday:

Dinner Out with RAs

Thursday:

Residence Life End of Year Banquet

Friday:

I want to go see the Avengers! So I’m hoping someone else will want to which will involve friends, dinner and a movie OR leftovers before friends and a movie.

Saturday:

Melt In Your Mouth Chicken, Oven Baked “Fried” Okra and Country Potatoes

Sunday:

Some combination of leftovers and snack at my first time attending small group

What are you eating this week? Also, help me think through the kitchen essentials I should most definitely bring with me and not leave in storage for the summer? 

Pin It

Pineapple Right Side Up Cupcakes

Did you know that April 20th is National Pineapple Upside Down Cake Day? I totally didn’t! The moment I found out (via a tweet or blog or something), I became mildly obsessed with the notion that I MUST make something involving pineapple, cherries, cake and brown sugar. And so I do! I find a healthy pineapple cupcake recipe on my favorite healthy eating blog, skinnytaste.com, and adapted it to be a pineapple upside down cake-esque dessert. I fed these to a bunch of college girls and they all loved them.

Pineapple Right Side Up Cupcakes

Original recipe by Skinny Taste (I made mine to be more Pineapple Upside Down Cake-ish).

Ingredients

Cupcakes:

  • 1 box of yellow cake mix
  • 20 oz can crushed pineapple in juice (do not drain)
  • 1/4 cup brown sugar

Frosting:

  • 8 oz 1/3 less fat cream cheese
  • 20 oz can of pineapple in juice, drained (squeeze really well in your hands to get out all the juice)
  • 1 1/2 cup marshmallow cream
  • maraschino cherries for garnish (optional)

Directions

Mix cake mix and 1 can of pineapple WITH the juice. I used my KitchenAid stand mixer. Use an ice cream scoop to fill lined cupcake tins about 2/3 full. Bake according to cake mix directions or until a toothpick inserted comes out clean. Set aside to allow to cool completely on cooling racks.

Drain the other can of pineapple. Like super crazy drain! I drained it in a mesh strainer and then put it in my hands, freshly washed of course, and squeezed out the excess juice. Combine cream cheese, crushed pineapple and marshmallow cream and mix until combined well. Again, used my stand mixer. Spread on completely cooled cupcakes.

For a fun garnish and to get the Pineapple Upside Down Cake Day theme across, I added maraschino cherries. I took the stems off half of the cherries and stuffed one inside each cupcake for a little filling surprise. I garnished each with a stem on cherry. On a couple that I presented to others, I dusted a little brown sugar on top to set in the purpose of the cupcake even more.

Cupcakes with no icing are 3 points each according the Weight Watchers Recipe Builder. With just icing they are 4 points each. With icing and cherries they are 5 points each. Even at their highest, they are way better than any regular cupcake a far as points values go.

Yields 24 servings. 

Pin It

Homemade Garlic Herb Croutons

Do you like salads? If you do, I bet you don’t like them with just lettuce or only green things (and if you do, I’m impressed). How do you feel about croutons? I happen to love them. They add a nice crunch and flavor. Croutons are to salads as pearls are to a cute sundress. It’s true. Salads need accessories too.

Now let’s talk about bread. I bet you have it. I bet on occasion you end up tossing some pieces that get old or moldy. Allow me to share my collection of bread tips.

1. If you do end up with moldy bread on occasion, you can lengthen the life of your bread like whoa by keeping it in the fridge. I’m just me with no husbands or kids to eat bread and a loaf usually last me a month.

2. Don’t care for the ends? Don’t toss them! Keep a bag in a the freezer and collect any bread butts (that’s what I call them), funky pieces or smooshed pieces. Things to also toss in that bread freezer bag: extra bread of any sort that will soon go bad – hotdog buns, hamburger buns, white bread, wheat bread. ALL THINGS BREAD.

3. Don’t like the texture of your refrigerated longer shelf life bread? Two options. 1 – Toast it. I love a sandwich on toast. I also just love toast. Toast with Nutella, toast with peanut butter and bananas, toast with yogurt butter, cheese toast, cinnamon toast. 2. Microwave it for 5-10 seconds. It will be as fluffy and soft as new.

4. So you have a bag of frozen bread… Now what? My favorite choices are bread puddings, homemade bread crumbs (which I also keep in the freezer after I make them and have for the many recipes that call for them), and now… CROUTONS!

I am almost certain you have everything you need to make your own croutons which means… A. FREE, sorta. I mean you bought the stuff you have to make them at some point. But in comparison to buying croutons, FREE. B. You can make them healthier. C. They taste way better. 

Homemade Garlic Croutons

Recipe inspired by Savory Sweet Life

Ingredients: 

  • 6 slice of bread (I used Sara Lee Delightful 45 Calorie Wheat Bread)
  • 3 tablespoons melted Brummel and Brown yogurt butter
  • 2 teaspoon garlic powder
  • 1/4 teaspoon salt
  • 1 1/2 teaspoons dried parsley flakes

Directions: 

Preheat oven to 300 degrees. Cube the six slices of bread. If you don’t like crusts, you can removed them, but I like them and leave them on. I cut them in threes each way. Mix melted butter, garlic powder and parsley flakes together until garlic powder is dissolved. Toss the butter mixture and bread cubes in a large bowl together until the bread is evenly coated. 
Spread the coated bread cubes on a parchments or foil lined baking sheet. Bake for 15 minutes and check to see if they are dry, crispy and golden brown. Stir the croutons around and bake for additional minutes according to your preference. I cooked mine for about 20 minutes total, but I like them with just a touch of softness. Store croutons in a ziplock bag (or any air tight container, I’m partial to mason jars) and they will keep fresh for a few days. 
I like making these because you can make as many as you need, less or more than this recipe even. I even like them as mouth popable little snacks. 
Yields 6 servings of 1/3 cup portions. Each serving is 2 points on Weight Watchers according to the recipe builder. 
I made Crock Pot Caesar Chicken on English muffin rolls with side Caesar salads complete with these yummy croutons. As a Round 2 recipe I did big Chicken Caesar salads with leftover shredded chicken and croutons of course. 

Pin It